Painting Vans is a great way to make your shoes one of a kind, but it’s an easy thing to do. If you’ve tried it before, you know how frustrating it can be when the paint cracks, peels, or fades too soon.
We’ve been there, and we’ve learned what works and what doesn’t.
To paint Vans shoes, clean them first. Then, apply a fabric primer and use acrylic or fabric paint. Lastly, seal the design with a clear spray for durability.
But getting a clean, long-lasting finish takes more than just creativity. You need the right materials, a solid prep routine, and a few insider tricks to make your designs pop.
Worry not. We’ll show you how to paint Vans like a pro.
Let’s get started.
Key Takeaways
-
To paint Vans, gather the right materials for the best results.
-
Use painter’s tape for clean, professional edges.
-
Sketch your design to stay on track.
-
Apply thin, even base coats for a smooth finish.
-
Seal your work to protect your art.
-
Be patient – let everything dry completely.
How to Paint Vans (Step-by-Step DIY Guide)

To paint Vans, clean the shoes, apply a fabric primer, and use acrylic or fabric paint for your design. Seal with a clear protective spray for durability. You should also let each layer dry fully for the best results.
Here are the details:
Materials Needed to Paint Vans
Before you start painting Vans, gather your materials. Here’s what we recommend:
|
Item |
Purpose |
|
Vans shoes |
Base for painting (canvas or leather) |
|
Acrylic or fabric paint |
Main colors (Angelus, Jacquard) |
|
Paintbrushes |
Details and backgrounds |
|
Painter’s tape |
Mask off soles and non-paint areas |
|
Pencil or fabric marker |
Sketching designs |
|
Palette or small cups |
Mixing colors |
|
Water and paper towels |
Quick cleanup |
|
Sealant |
Protect and finish (Angelus, Mod Podge) |
The best Paint for Vans is Angelus Leather and Fabric Paint. It’s made for shoes, so it flexes without cracking, even after heavy use. Jacquard Textile Paint is another great option. It’s known for its vibrant colors and long-lasting finish.
If you’re using regular acrylic paint, make sure to mix it with a fabric medium. Otherwise, it will crack as the shoes flex.
Step 1: Prepare the Shoes
If you want to paint Vans properly, make sure you prepare your shoes correctly. This is one of the most important steps, and it’s easy to overlook. Proper prep can be the difference between a design that lasts years and one that cracks or peels in a few weeks.
-
Remove the Laces: First, take out the laces. This makes painting easier and keeps them from getting stained. You can paint them separately if you want them to match your design, but we usually just replace them with a fresh pair.
-
Clean the Shoes: Next, clean your shoes. If you’re working with leather Vans, use a leather preparer or deglazer.
-
Dry Completely: Make sure your shoes are completely dry before moving on. Even a little moisture can mess up the paint’s adhesion and lead to uneven coverage.
Step 2: Tape Off Non-Paint Areas
Now, use painter’s tape to cover the rubber soles, eyelets, and any other areas you want to keep paint-free.
Just carefully press the tape along the edges of the rubber soles. Make sure it’s tight against the fabric so no paint seeps underneath. For tighter corners or small details, you can trim the tape with a precision knife.
Remember: A clean, sharp edge can make your design look professional.
Once the tape is in place, run your fingers along the edges to make sure it’s firmly stuck down.
Step 3: Sketch Your Design (Optional)
In the third step, use a pencil or fabric marker to lightly outline your design. Don’t press too hard, as deep lines can show through the paint. If you’re working with a dark shoe, use a white fabric pencil.
For clean lines and sharp patterns, consider using stencils or transfer paper. We’ve used these for checkered designs, logos, and lettering. They’re a lifesaver when you want a precise, professional look.
Also, plan Your Colors. Think about your color scheme before you start painting. Once, we didn’t plan this part, and the final result looked a bit chaotic. Now, we always pick our colors ahead of time, which saves a lot of headaches later.
Step 4: Apply the Base Coat
Note that a solid base coat sets the tone for your whole design. We suggest you don’t try to cover the whole shoe in one go. Use thin, even layers to avoid cracking. Thick coats can dry stiff and lead to flaking over time.
In our experience, two to three layers usually work best for a strong, vibrant base.
Also, let each layer dry completely before adding the next. If you rush this step, you’ll end up with a sticky, uneven finish.
Step 5: Add Your Design
This is where your Vans shoes really start to come to life. Paint the larger background shapes first, then move on to smaller details. This helps you build up the layers gradually.
In our experience, small, fine-tipped brushes are great for detail work, while broader brushes are better for filling in larger areas. We’ve tried cutting corners here, but it always shows in the final product.
Step 6: Let the Paint Dry
Once you’re happy with your design, let the shoes dry completely. This can take 24 to 48 hours, depending on the thickness of your paint layers. Don’t rush this step – it’s critical for a long-lasting finish.
Step 7: Seal the Design
Sealing your design is the final step. It protects your work from scuffs, water, and general wear and tear.
-
Apply the Sealant: Use a clear acrylic finisher like Angelus Acrylic Finisher or Mod Podge. Apply it evenly with a soft brush or sponge, making sure to cover every painted area.
-
Let It Cure: Give the sealant plenty of time to dry. Rushing this can ruin your design just as you’re wrapping up the project.
Step 8: Remove the Tape and Reassemble
Once your sealant is dry, carefully peel off the tape. This part is always satisfying – seeing your design without all that tape in the way. Finally, re-lace your shoes, and they’re ready to wear.

That’s all.
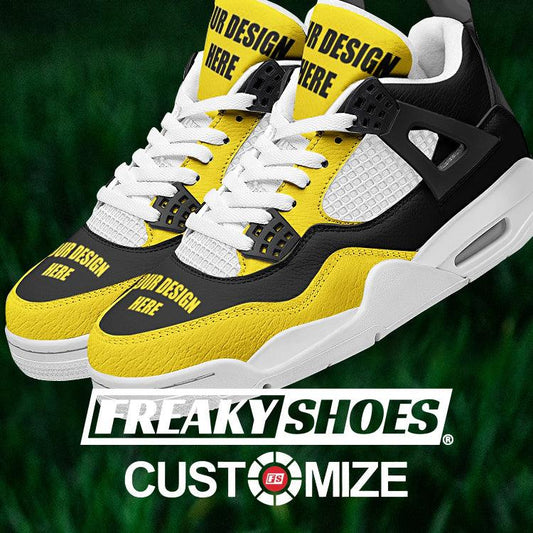
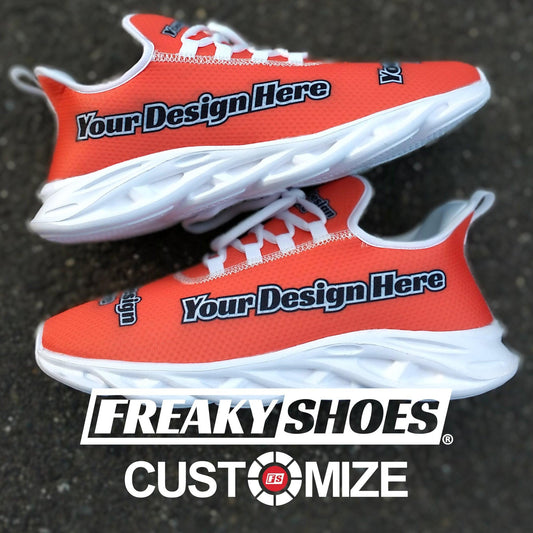
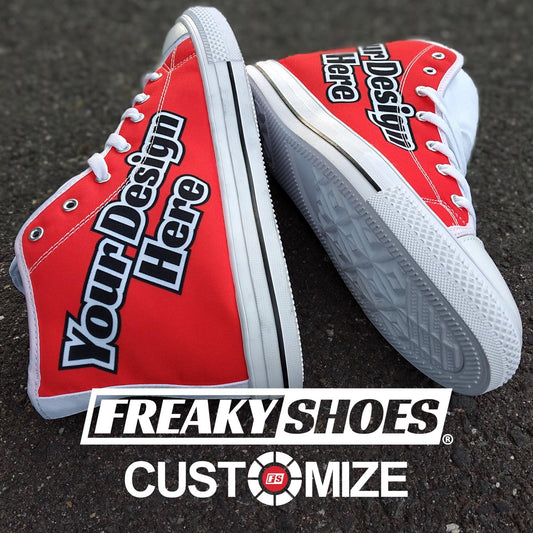
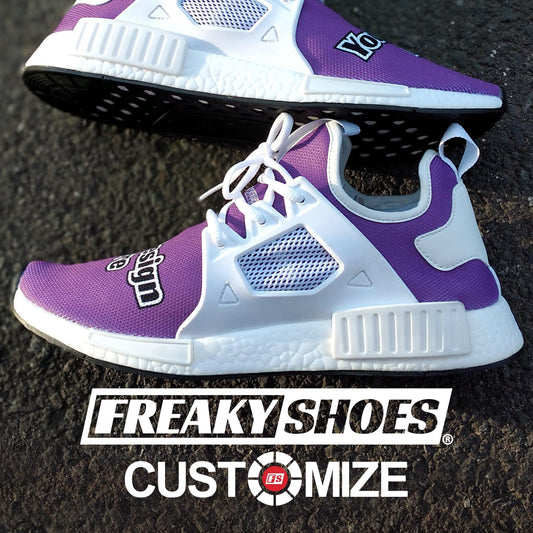
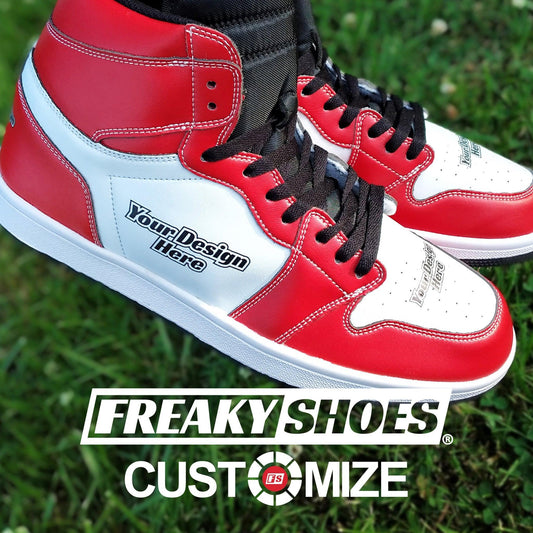
Alternative to Painting Vans: Choose FreakyShoes
If you’re looking for a faster, cleaner way to customize your shoes, we’ve got you covered at FreakyShoes. Instead of spending hours painting Vans by hand, you can upload your designs to our platform and get fully personalized shoes without the mess.
We handle all the hard work, like printing, bonding, and sealing, so you don’t have to worry about paint cracking or colors fading.
And remember: Our custom shoes are built to last. We use advanced printing methods that permanently bond the design to the shoe material. This means your designs stay sharp and vibrant, even after months of wear.
And if you like to stand out, you’ll love our level of customization. You can design every part of your shoe, from the tongue and heel to the laces and sole. It’s a great way to create something truly one-of-a-kind without the hassle of painting by hand.
So if you want personalized shoes without the DIY stress, check out FreakyShoes.
Final Words
Painting your Vans can be a fun way to express yourself and stand out from the crowd. With the right prep, materials, and a bit of patience, you can create a unique, one-of-a-kind pair that truly reflects your style.
Always use high-quality paint for long-lasting color. Plus, seal your work to protect it from wear and tear.
Take your time – it’s worth it for a polished finish!