
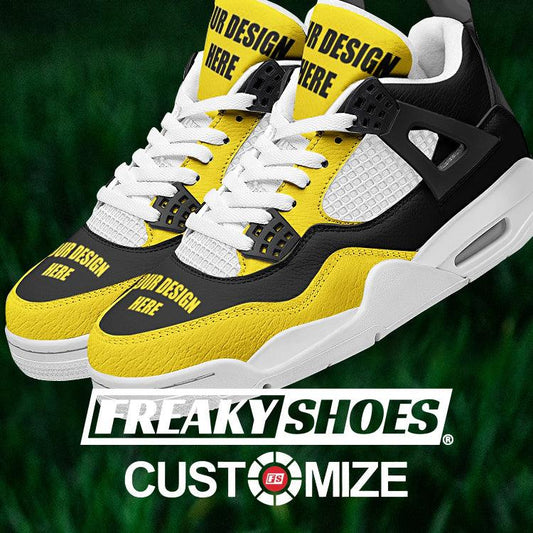
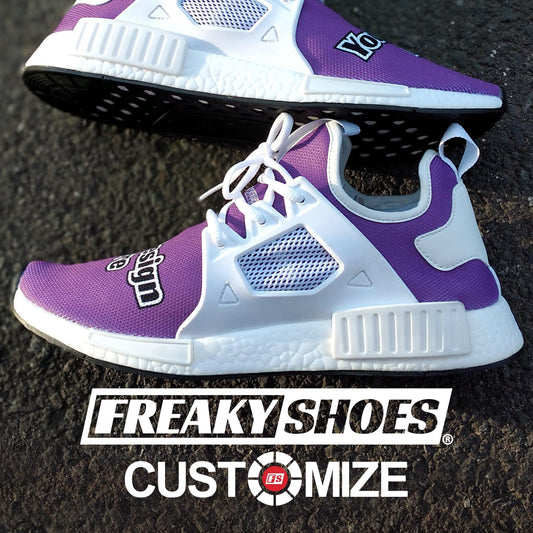
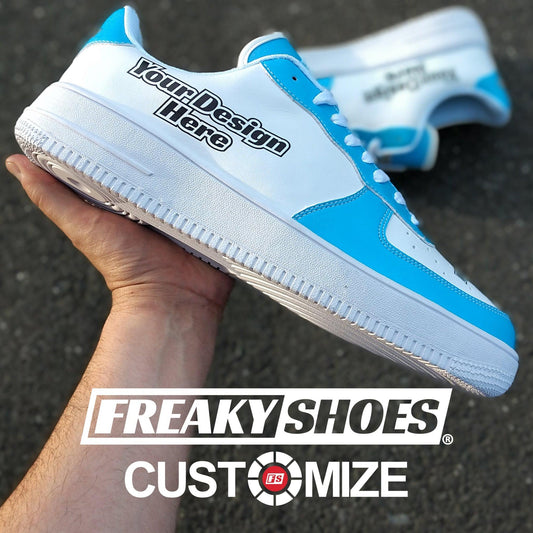
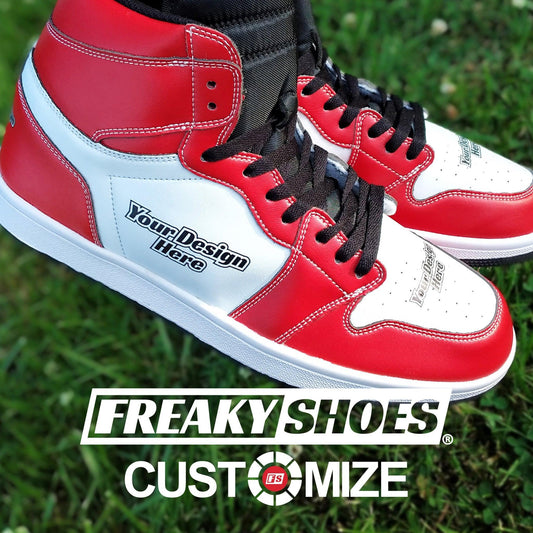
DESIGN YOUR OWN WAY!
-

QUICK
Design Your
Own Shoe -

ADVANCED
Design Your
Own Shoe -

CURATED
Premade
Designs


Since 2018, Freaky ShoesⓇ allows you to upload logos, images, & text to design your own custom shoes with the use of our 3D Shoe Design Platform.

Jynxzi Custom Shoes Unboxing
Freaky ShoesⓇ featured by Jynxzi on YouTube at 12:45 mark.
Design Your Shoes
Read Our Latest Freaky Shoes® Blog Posts
View all-

How to Stretch Cowboy Boots: 8 Easy Ways That A...
Want to know how to stretch cowboy boots the right way? Learn 8 simple and safe methods to stretch your boots at home without damaging the leather.
How to Stretch Cowboy Boots: 8 Easy Ways That A...
Want to know how to stretch cowboy boots the right way? Learn 8 simple and safe methods to stretch your boots at home without damaging the leather.
-

Is KicksCrew Legit? 2025 Site Review For Buyers
Wondering, is KicksCrew legit? Here’s everything to know about KicksCrew’s authenticity, customer reviews, shipping, return policies, and more.
Is KicksCrew Legit? 2025 Site Review For Buyers
Wondering, is KicksCrew legit? Here’s everything to know about KicksCrew’s authenticity, customer reviews, shipping, return policies, and more.
-
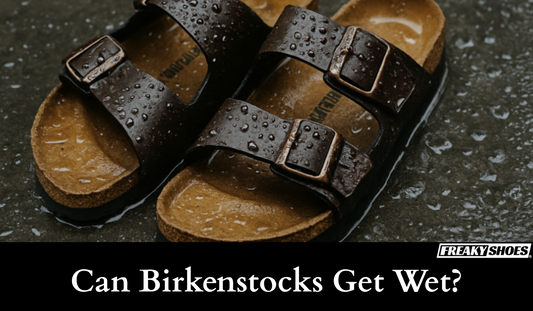
Can Birkenstocks Get Wet? What Really Happens +...
Can Birkenstocks get wet? Learn from our real-life experience and find out what happens when your Birks get soaked, how to fix it, and how to protect them.
Can Birkenstocks Get Wet? What Really Happens +...
Can Birkenstocks get wet? Learn from our real-life experience and find out what happens when your Birks get soaked, how to fix it, and how to protect them.
-

Can Women Wear Men's Shoes? Here’s What Actuall...
Can women wear men's shoes? Yes, and it’s more common than you think. Learn how to get the right fit, what to expect, and why so many women prefer men’s...
Can Women Wear Men's Shoes? Here’s What Actuall...
Can women wear men's shoes? Yes, and it’s more common than you think. Learn how to get the right fit, what to expect, and why so many women prefer men’s...


