
DESIGN YOUR OWN WAY!
-

QUICK
Design Your
Own Shoe -

ADVANCED
Design Your
Own Shoe -

CURATED
Premade
Designs


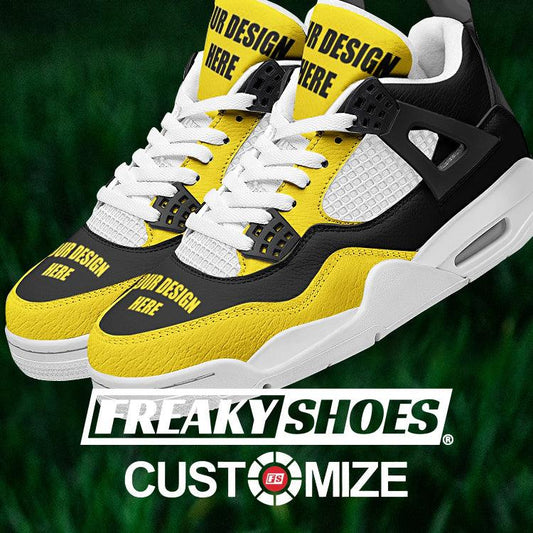
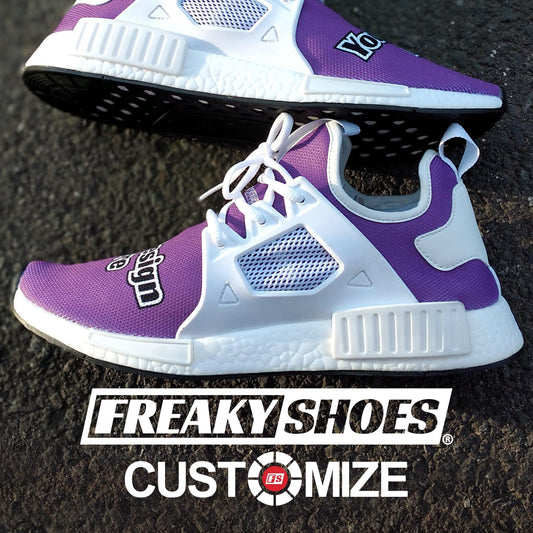
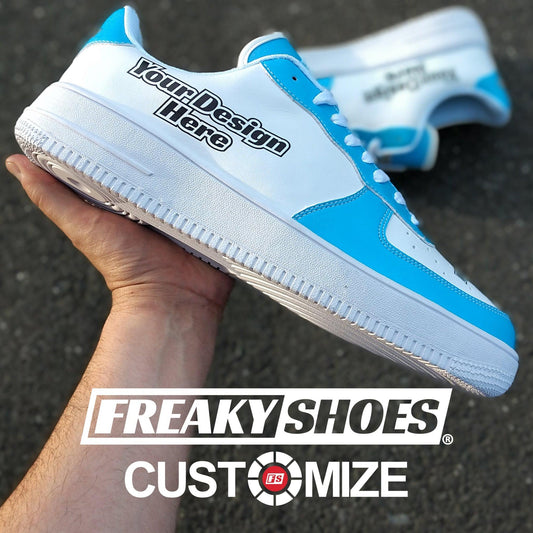
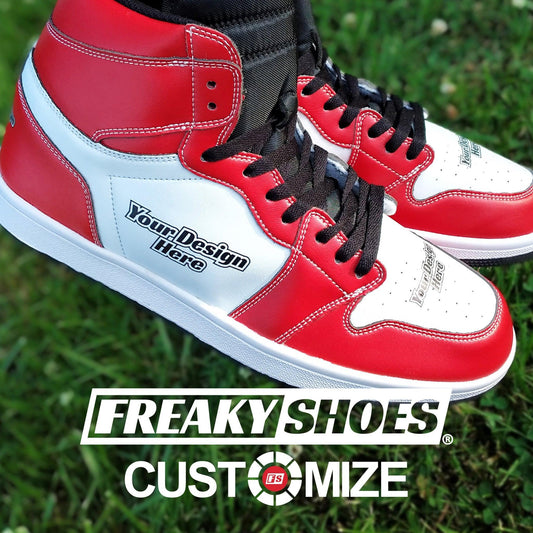
Since 2018, Freaky ShoesⓇ allows you to upload logos, images, & text to design your own custom shoes with the use of our 3D Shoe Design Platform.

Jynxzi Custom Shoes Unboxing
Freaky ShoesⓇ featured by Jynxzi on YouTube at 12:45 mark.
Design Your Shoes
Read Our Latest Freaky Shoes® Blog Posts
View all-

Who Looks Good in Stone Birkenstocks? (5 Recomm...
Wondering who looks good in stone Birkenstocks? We break it down by skin tone, style, and real-life outfits. See if they're right for you in this guide.
Who Looks Good in Stone Birkenstocks? (5 Recomm...
Wondering who looks good in stone Birkenstocks? We break it down by skin tone, style, and real-life outfits. See if they're right for you in this guide.
-
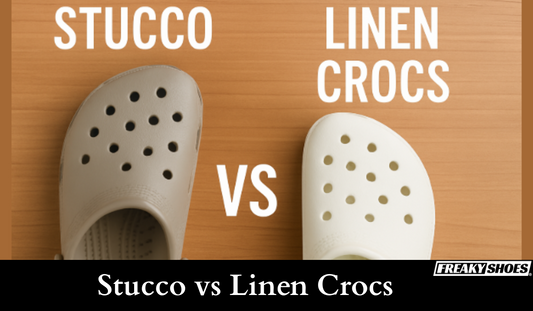
Stucco vs Linen Crocs - Which One Should You Get?
Not sure whether to get Stucco or Linen Crocs? We’ve compared both shades in real life. Read this stucco vs linen Crocs now for all the answers!
Stucco vs Linen Crocs - Which One Should You Get?
Not sure whether to get Stucco or Linen Crocs? We’ve compared both shades in real life. Read this stucco vs linen Crocs now for all the answers!
-
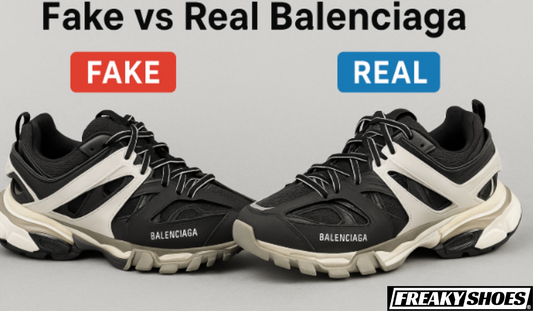
How to Check Balenciaga Track Shoes Authenticit...
Not sure if your Balenciaga Track shoes are real? Learn how to check Balenciaga Track shoes authenticity with 10 simple, expert-backed tips.
How to Check Balenciaga Track Shoes Authenticit...
Not sure if your Balenciaga Track shoes are real? Learn how to check Balenciaga Track shoes authenticity with 10 simple, expert-backed tips.
-
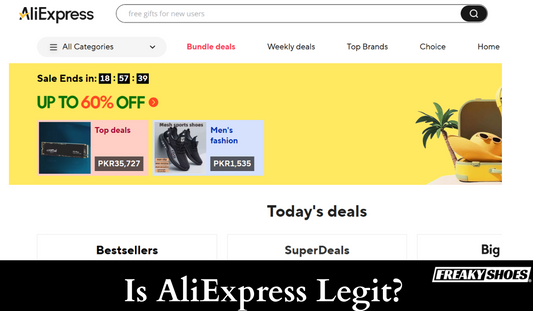
Is AliExpress Legit? Review with 3 Issues (With...
Is AliExpress legit or a scam? We ordered shoes and other stuff to find out. We also tested their shipping, quality, returns, and support. Here’s the review.
Is AliExpress Legit? Review with 3 Issues (With...
Is AliExpress legit or a scam? We ordered shoes and other stuff to find out. We also tested their shipping, quality, returns, and support. Here’s the review.


