-
"Sunflowers" by Vincent Van Gogh
Regular price $99Regular priceUnit price per -
Freaky Shoes® Gift Card
Regular price From $10Regular priceUnit price per -
Freaky Shoes Men
Regular price $99Regular priceUnit price per -
Freaky Shoes® Classic Trucker Cap
Regular price $50Regular priceUnit price per -
Freaky Shoes® White Black Lace Up Sneakers
Regular price $99Regular priceUnit price per -
Freaky Shoes® Black & Purple Unisex Low Top Leather Sneakers
Regular price $99Regular priceUnit price per -
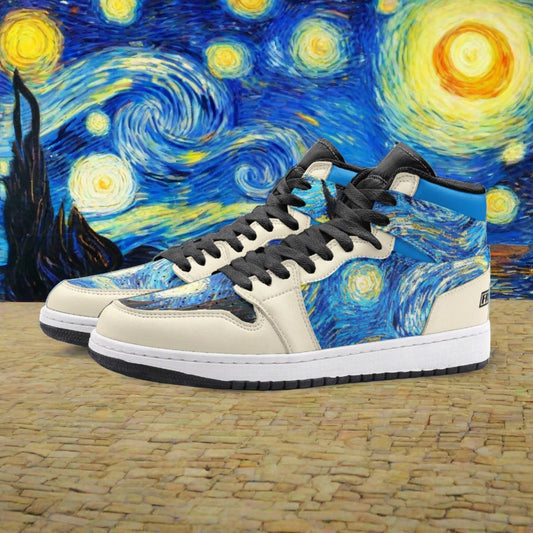
"Starry Night" by Vincent Van Gogh
Regular price $99Regular priceUnit price per -
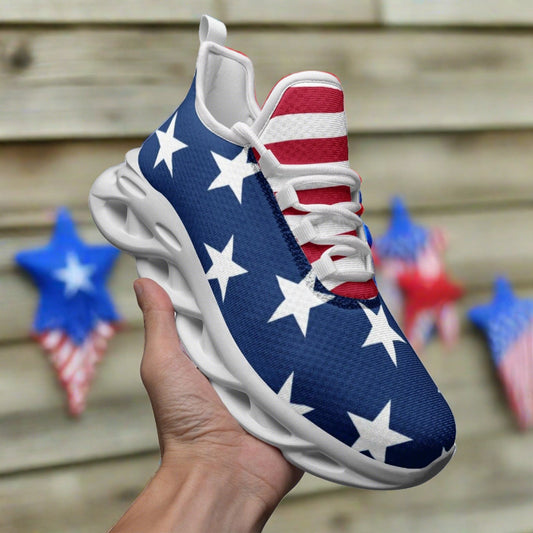
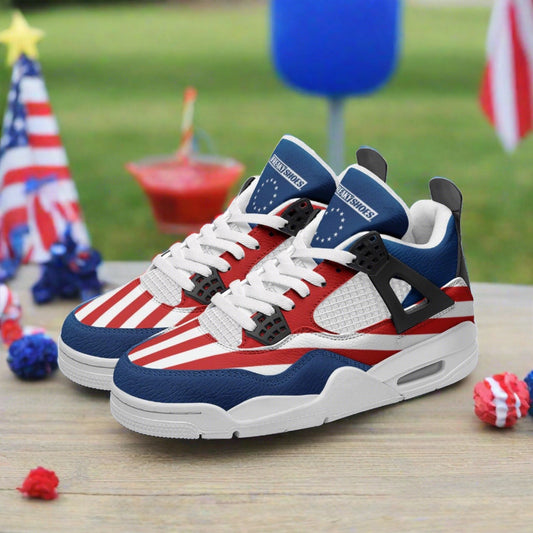
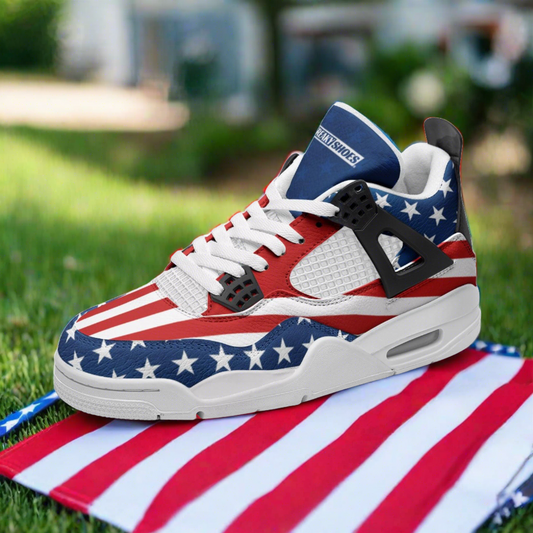
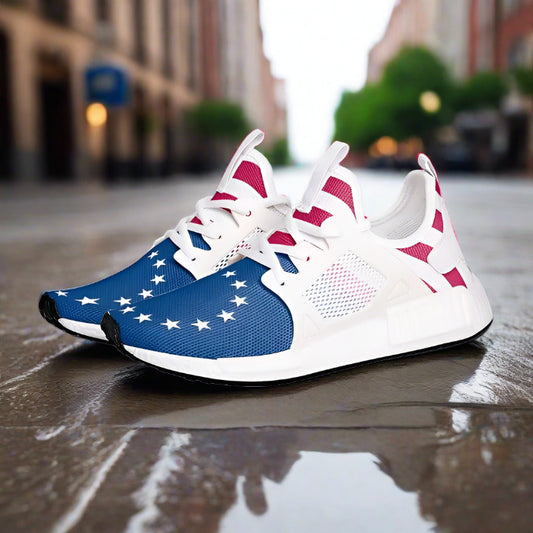
Betsy Ross Flag
Regular price $99Regular priceUnit price per -
Patriotic USA Flag
Regular price $99Regular priceUnit price per -
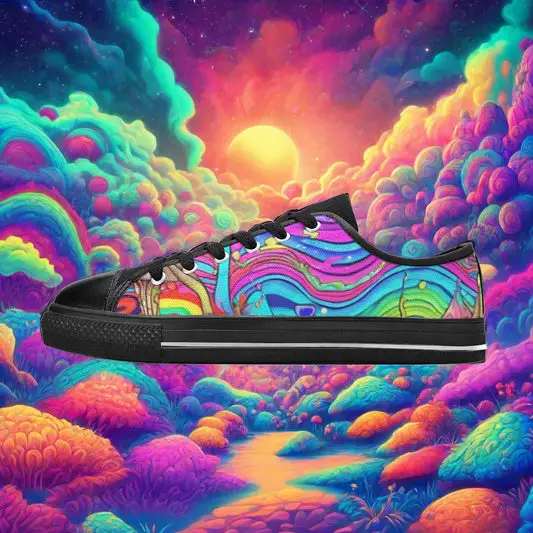
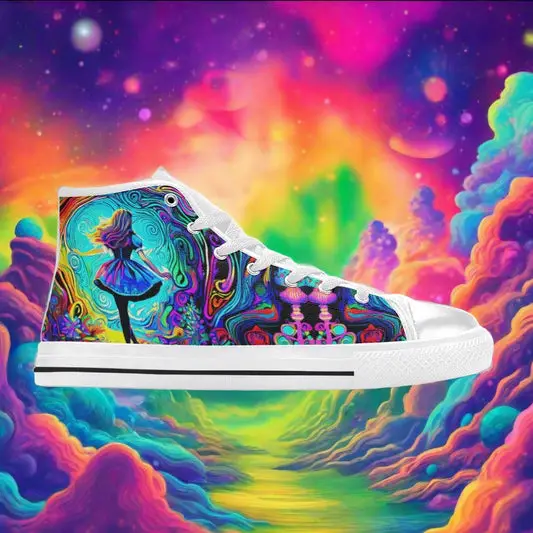
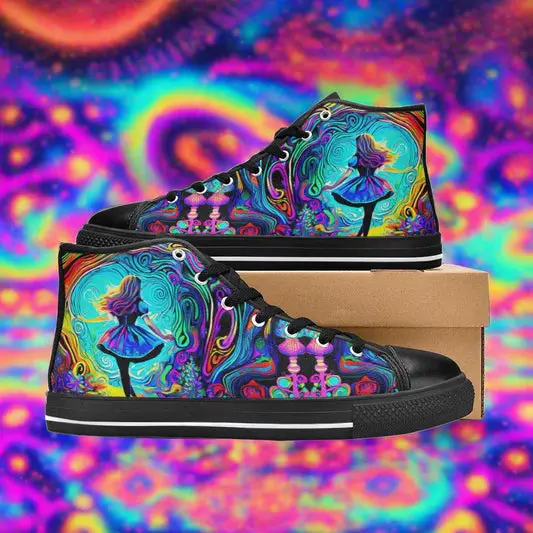
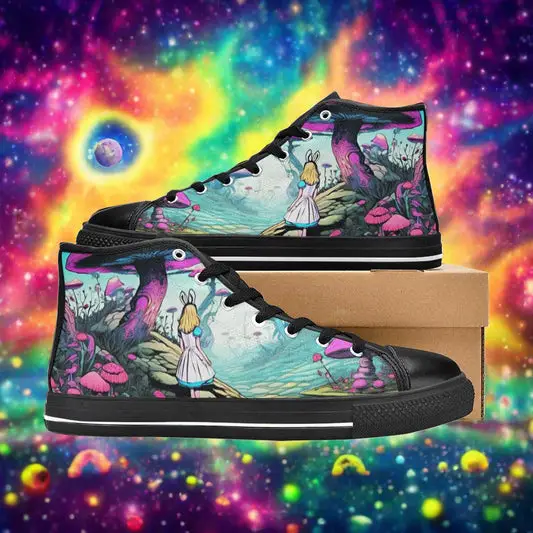
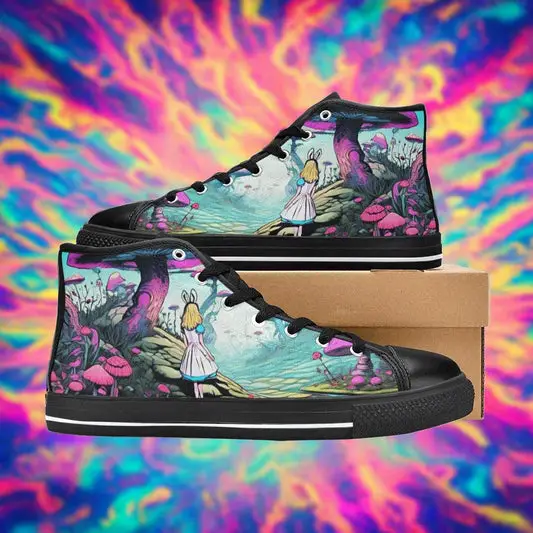
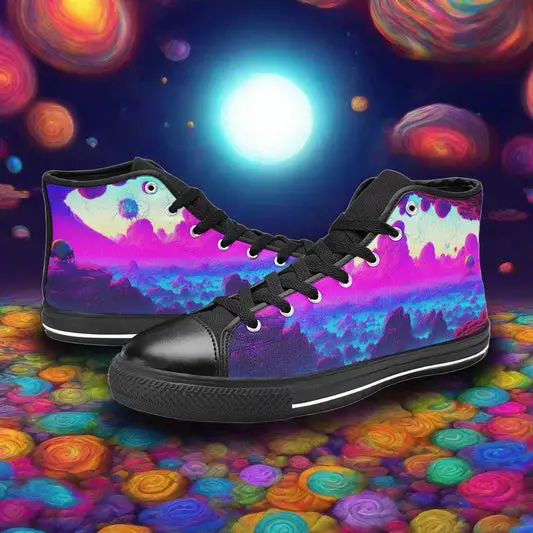
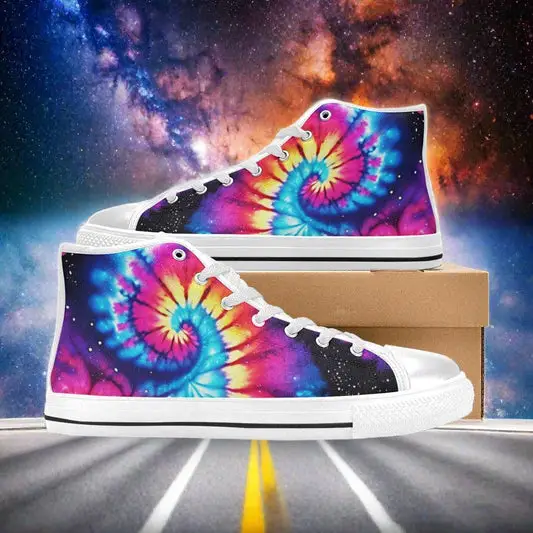
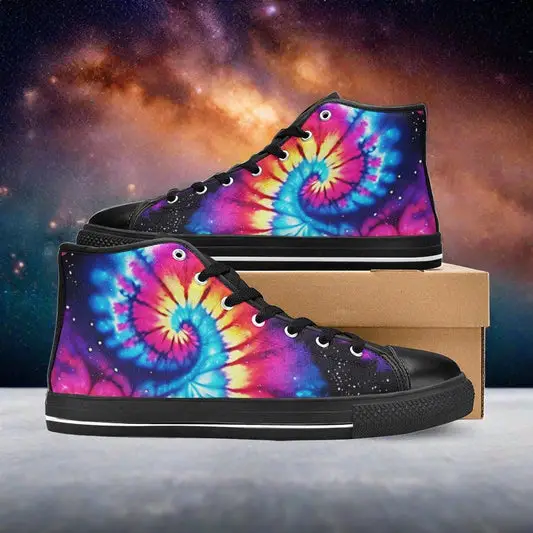
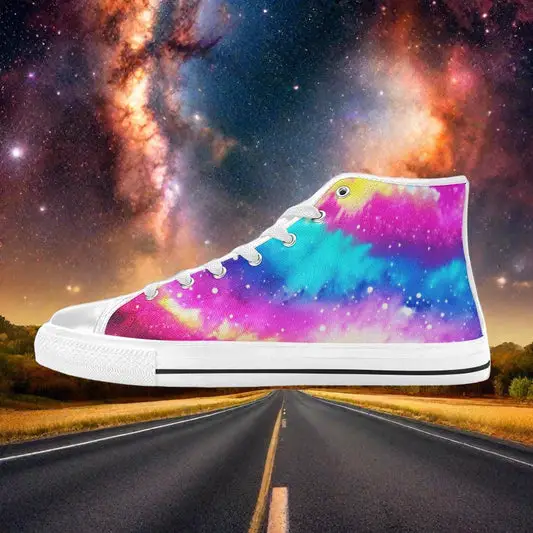
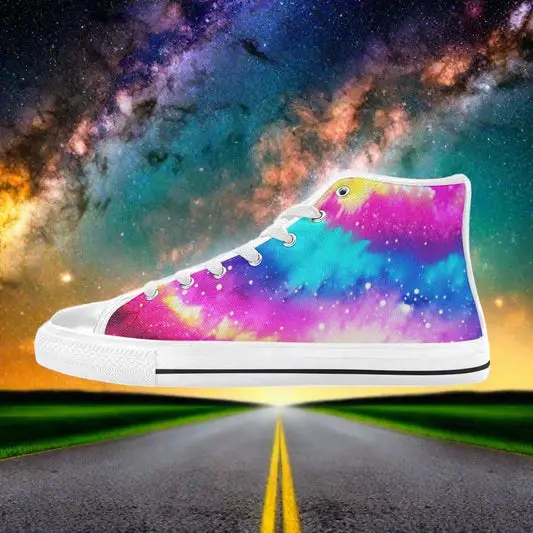
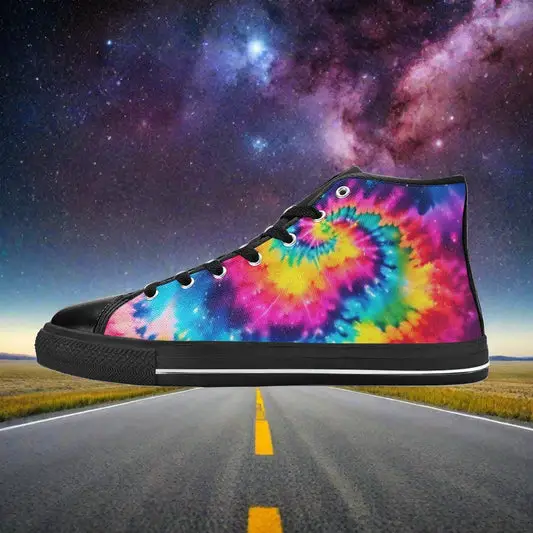
Galaxy Twist
Regular price $99Regular priceUnit price per -
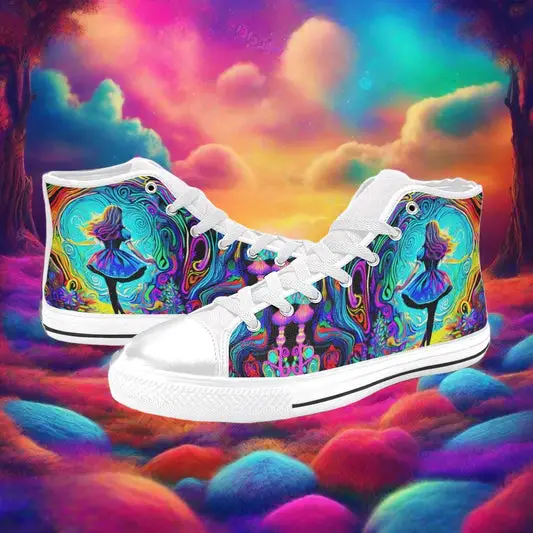
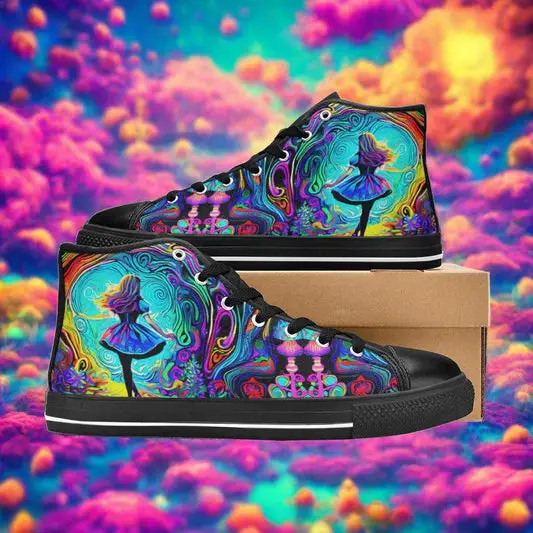
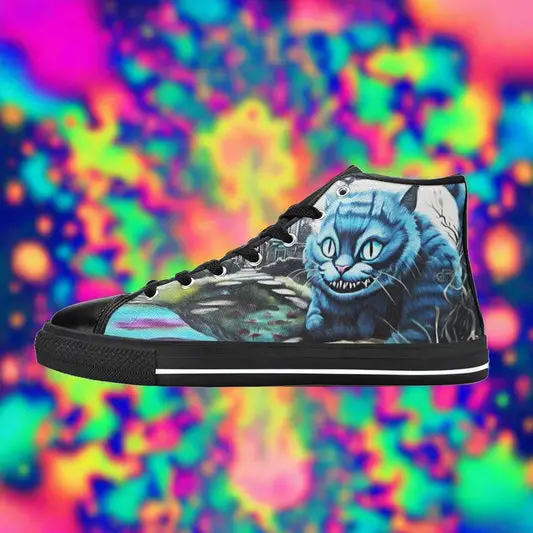
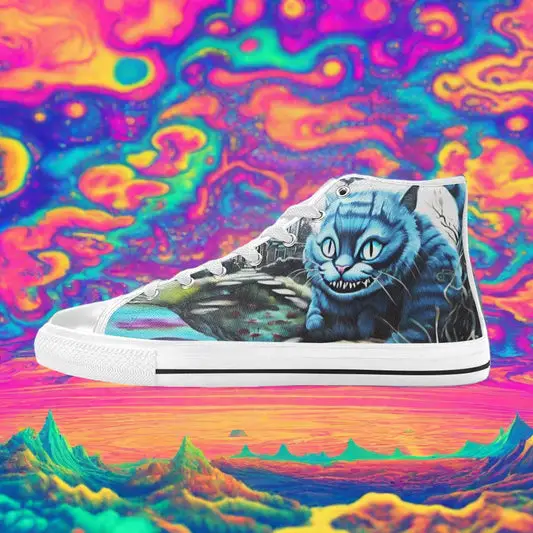
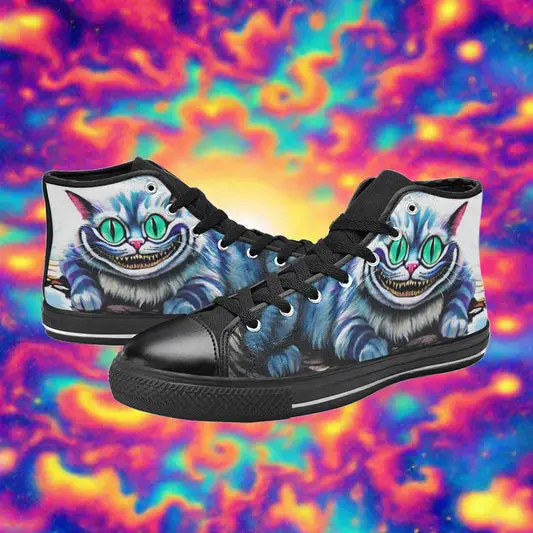
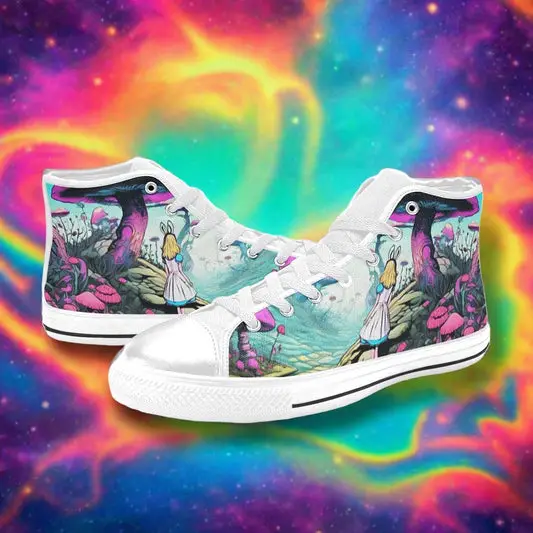
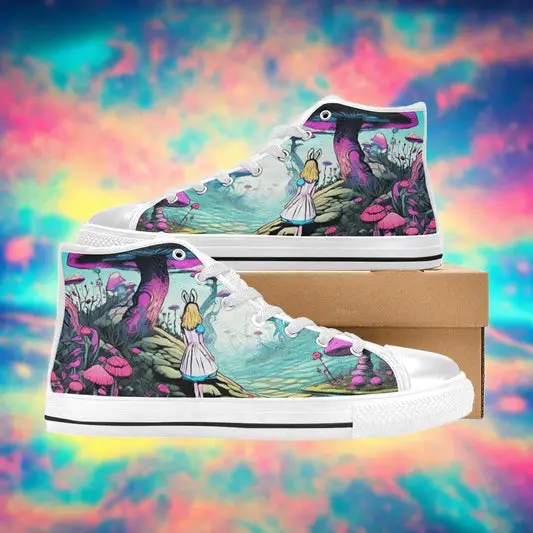
Rabbits Art Men
Regular price $99Regular priceUnit price per -
Freaky Shoes Red White
Regular price $99Regular priceUnit price per -
Stars & Stripes Men
Regular price $99Regular priceUnit price per -
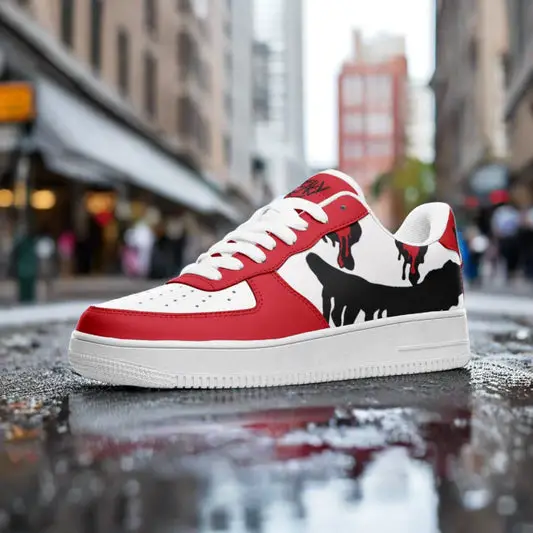
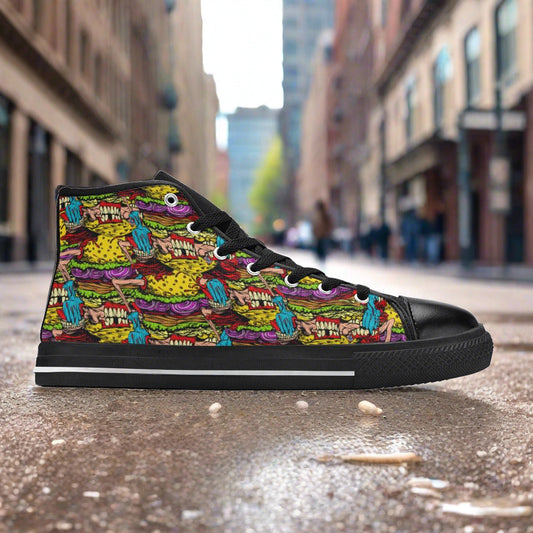
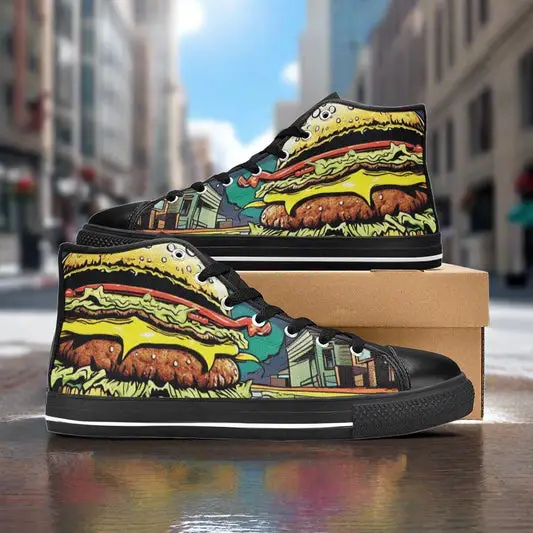
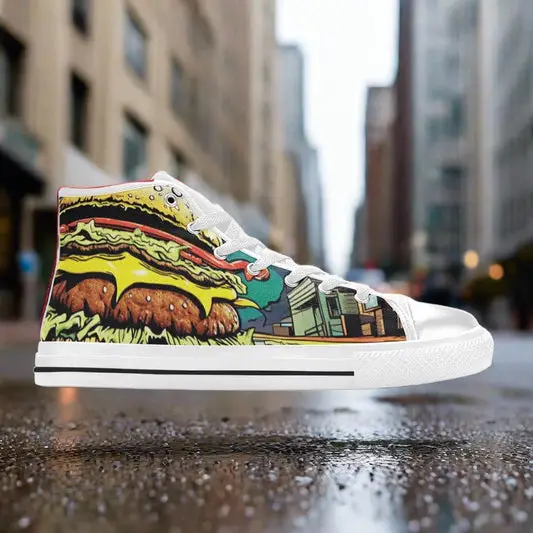
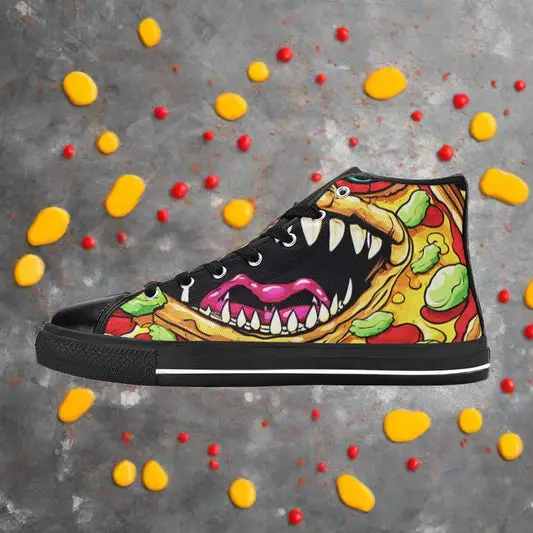
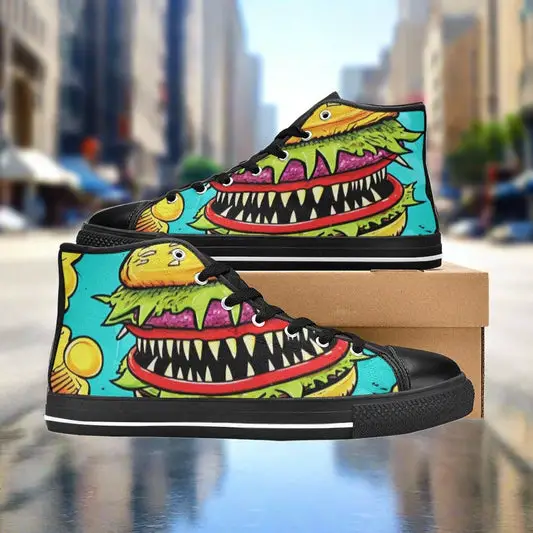
Cheeseburger Monster
Regular price $99Regular priceUnit price per -
Jesus Unisex High Top Canvas Shoes
Regular price $99Regular priceUnit price per -
Jesus Unisex High Top Canvas Shoes
Regular price $99Regular priceUnit price per -
Freaky Shoes® Freestyle Art Printed Tongue Unisex High Top Canvas Shoes
Regular price $99Regular priceUnit price per -
Freaky Shoes® Black & Yellow Freestyle Art Unisex Low Top Leather Sneakers
Regular price $99Regular priceUnit price per -
Freaky Shoes® Red & Black Unisex Low Top Leather Sneakers
Regular price $99Regular priceUnit price per -
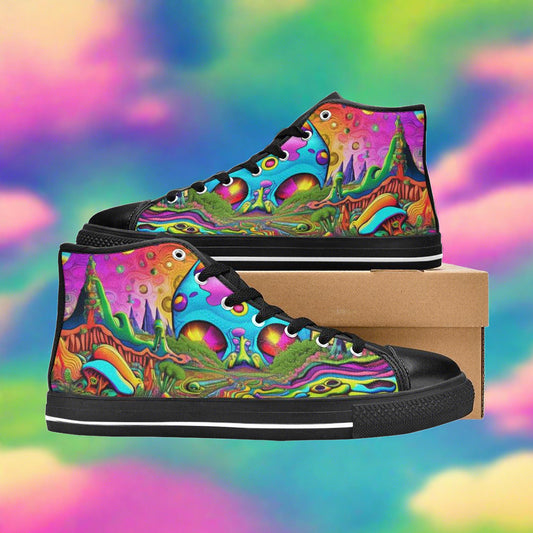
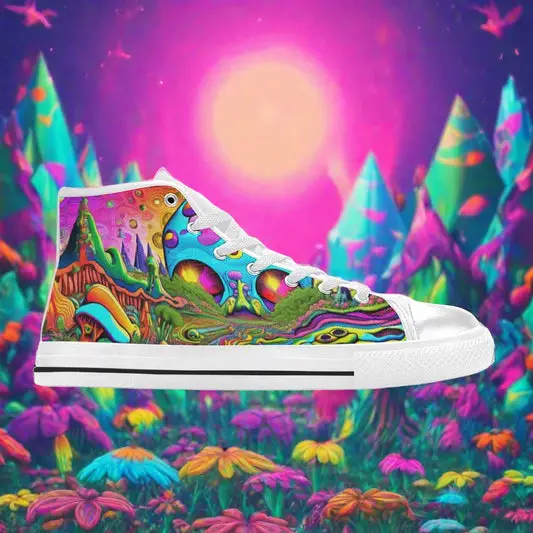
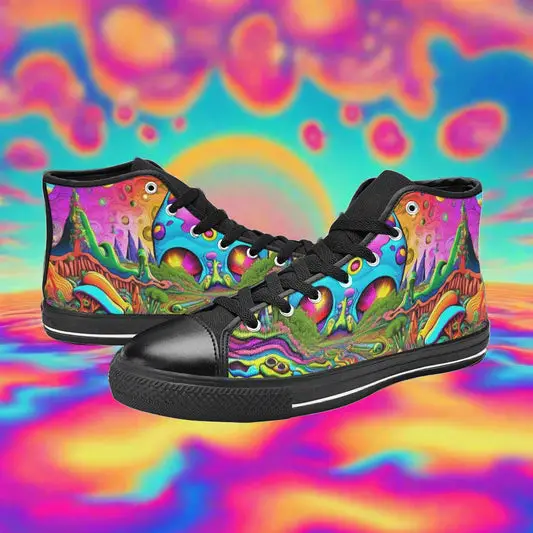
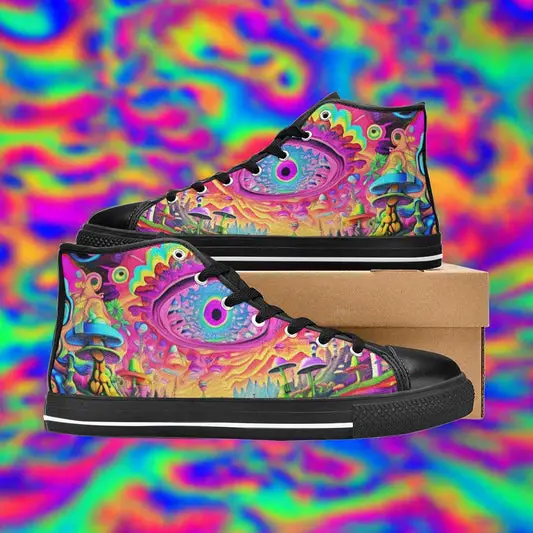
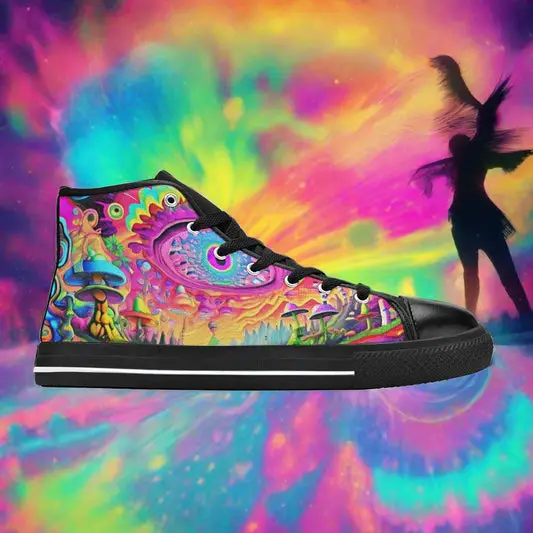
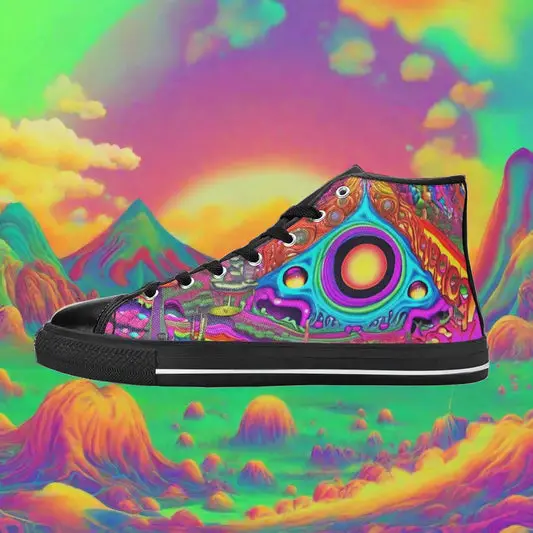
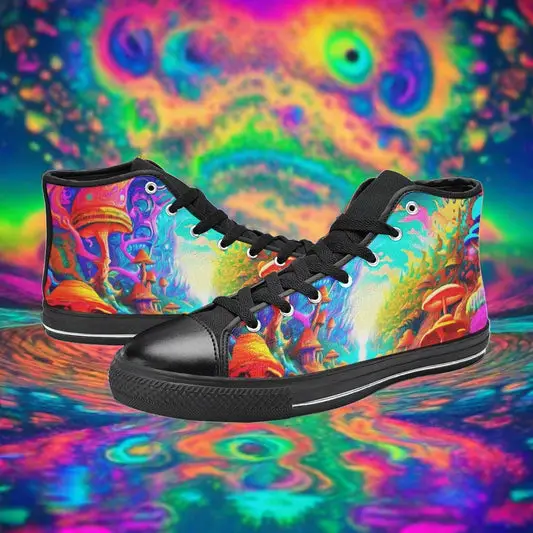
Trippy Art Men
Regular price $99Regular priceUnit price per -
Trippy Art Men
Regular price $99Regular priceUnit price per -
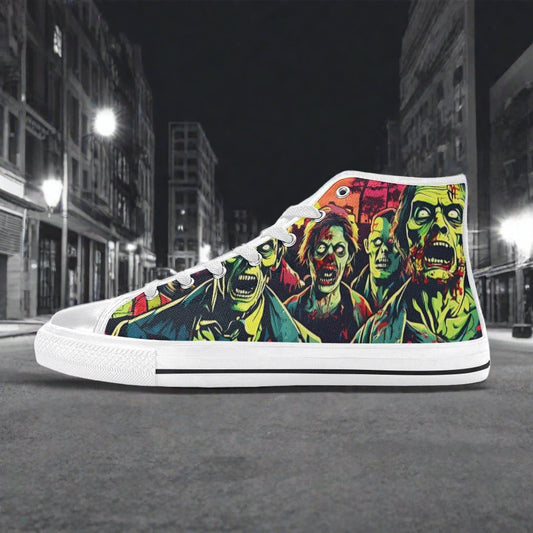
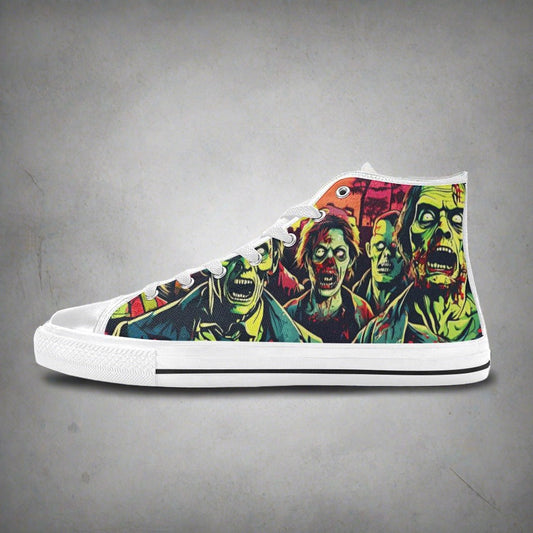
Zombie Art Men
Regular price $99Regular priceUnit price per -
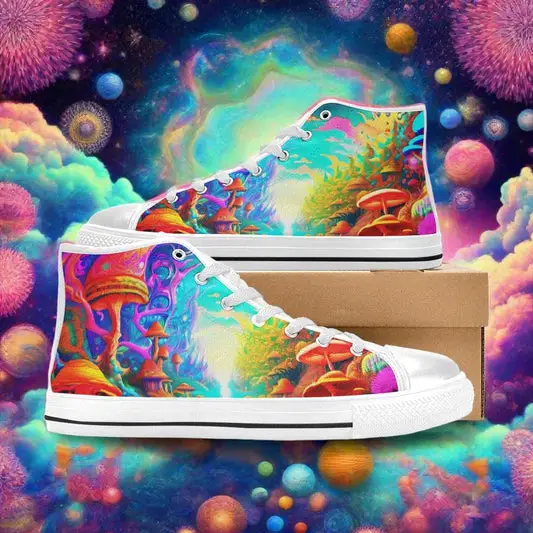
Fantasy Art Men
Regular price $99Regular priceUnit price per -
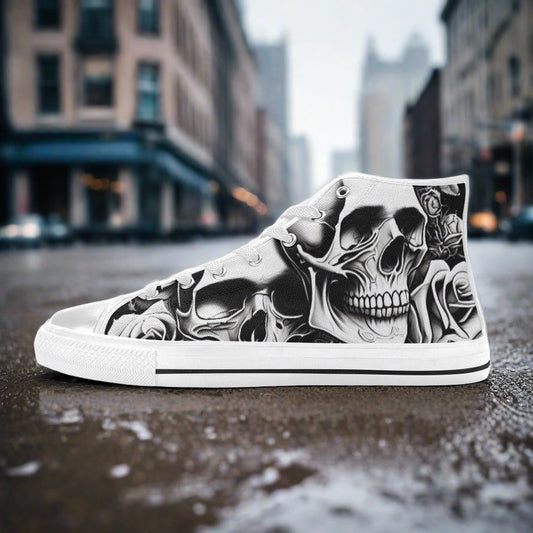
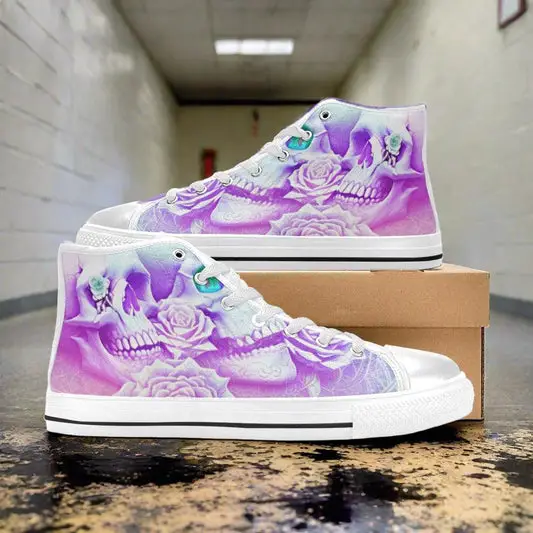
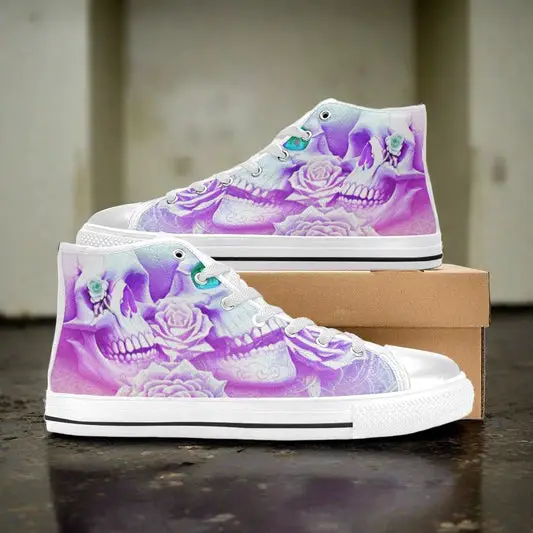
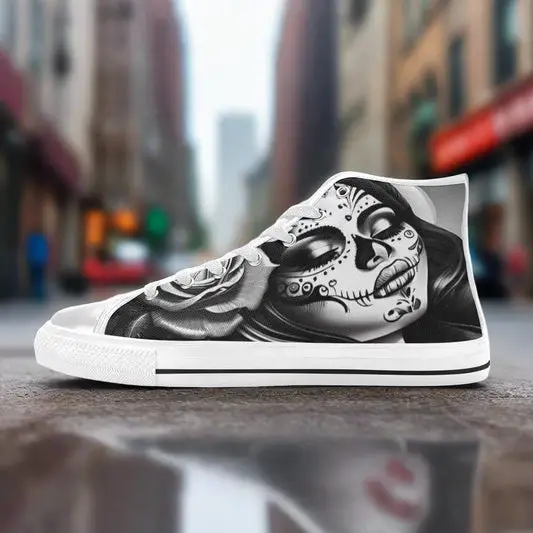
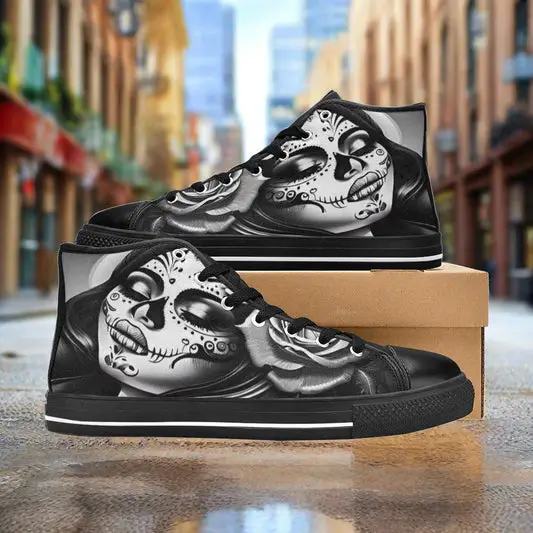
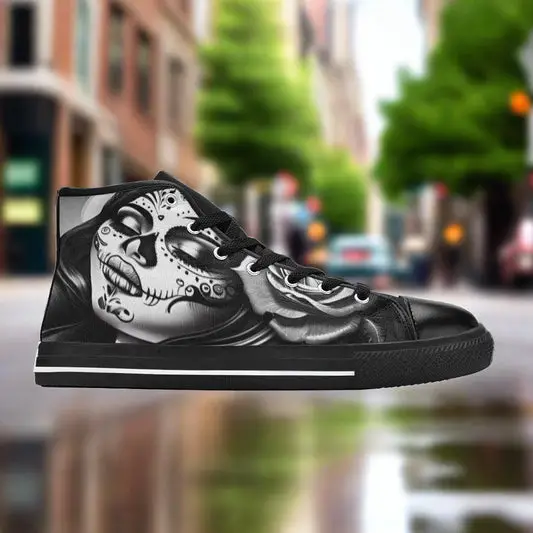
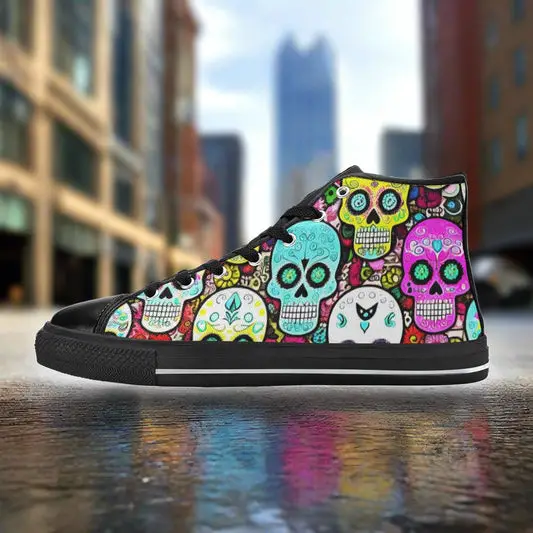
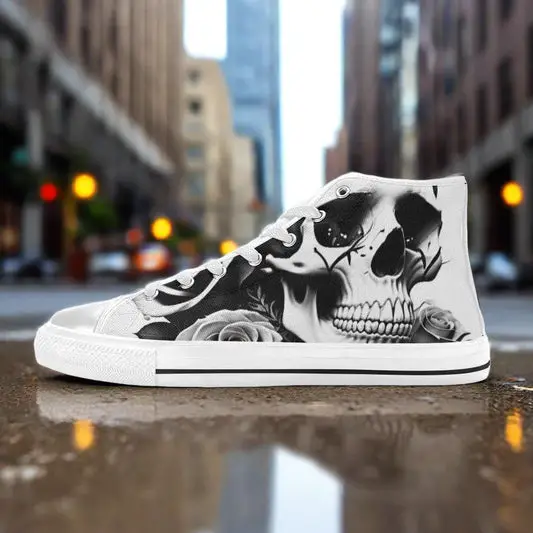
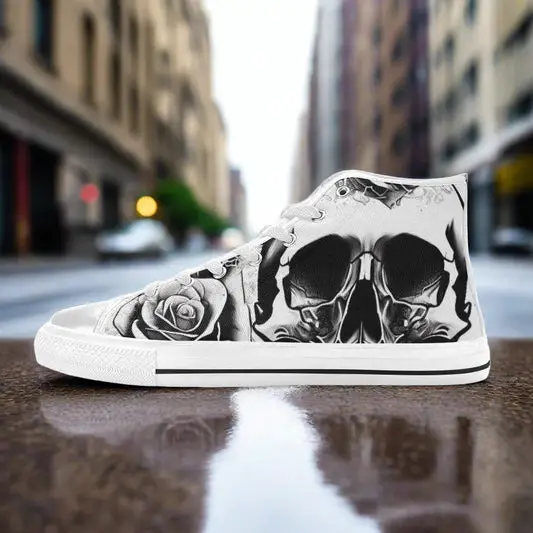
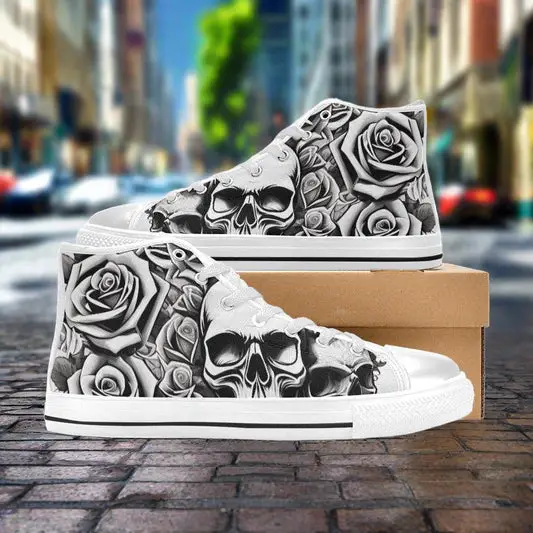
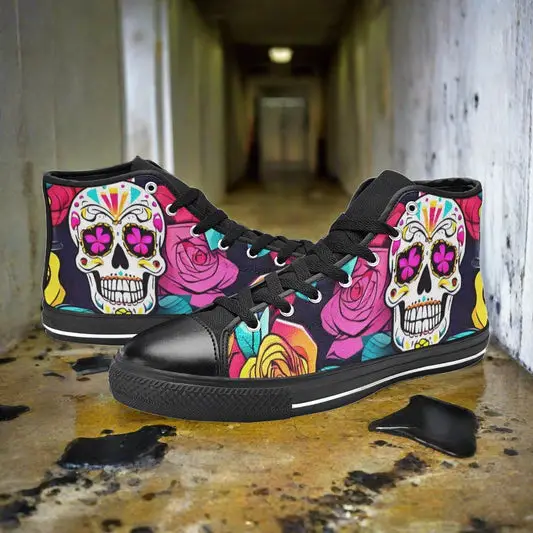
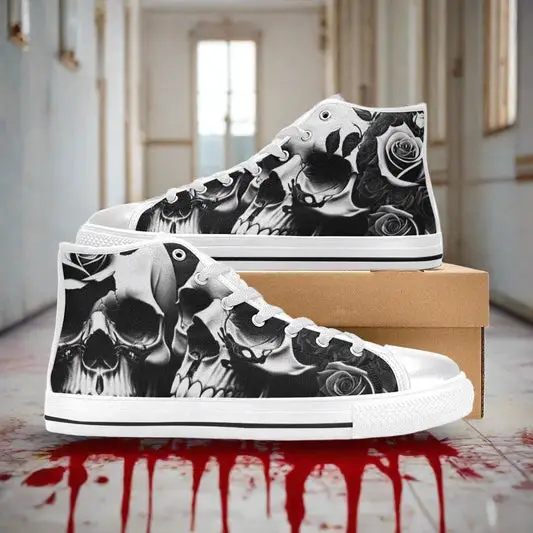
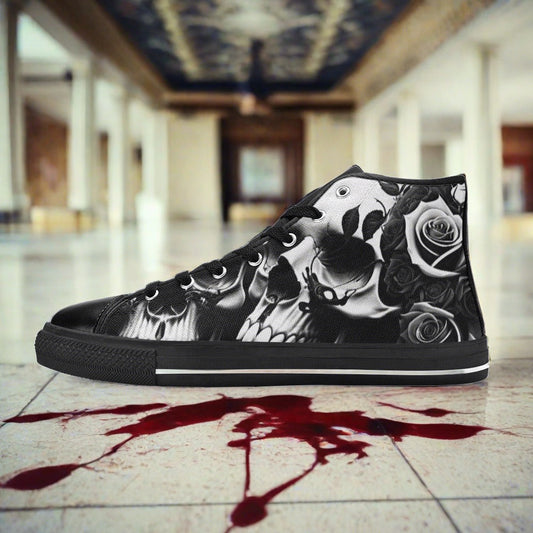
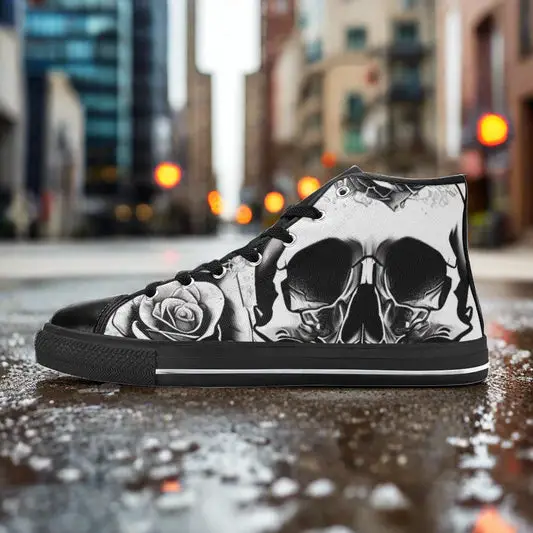
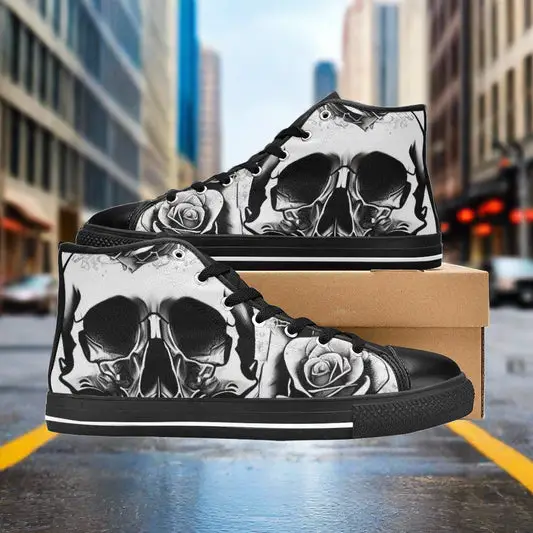
Freaky Shoes® Grey Skulls & Roses Men
Regular price $99Regular priceUnit price per -
Patriotic Betsy Ross
Regular price $99Regular priceUnit price per -
Patriotic USA Stars & Stripes
Regular price $99Regular priceUnit price per -
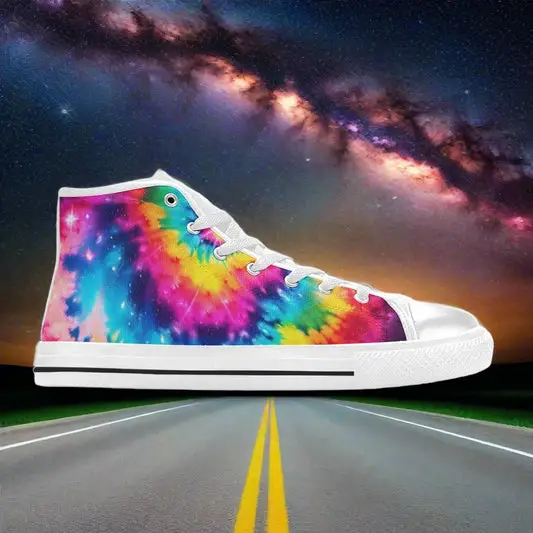
Rainbow Tie Dye
Regular price $99Regular priceUnit price per -
Tie Dye Splash Men
Regular price $99Regular priceUnit price per -
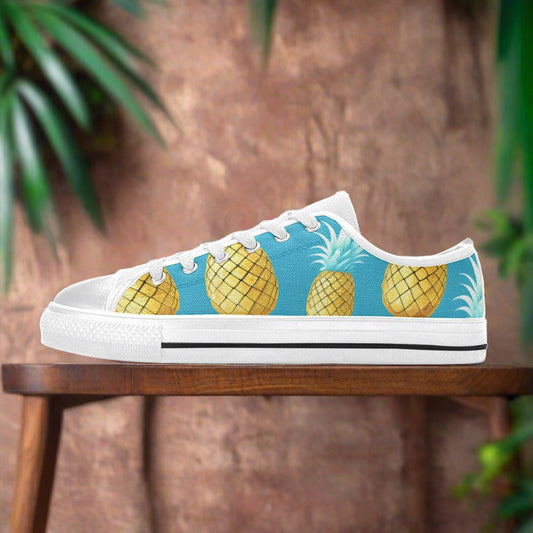
Cool Pineapples Women
Regular price $99Regular priceUnit price per -
Rainbow Tie Dye Men
Regular price $99Regular priceUnit price per -
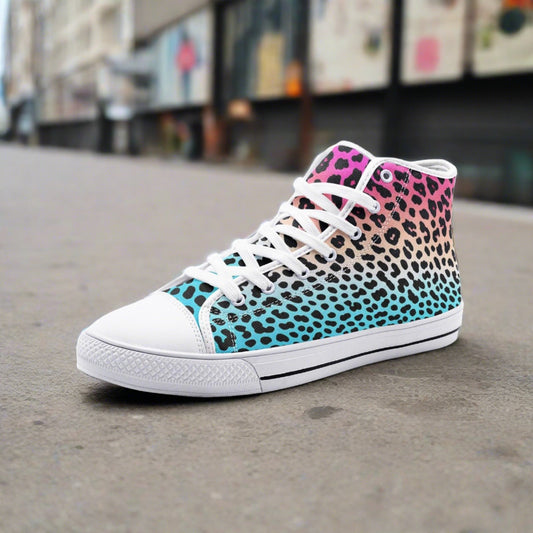
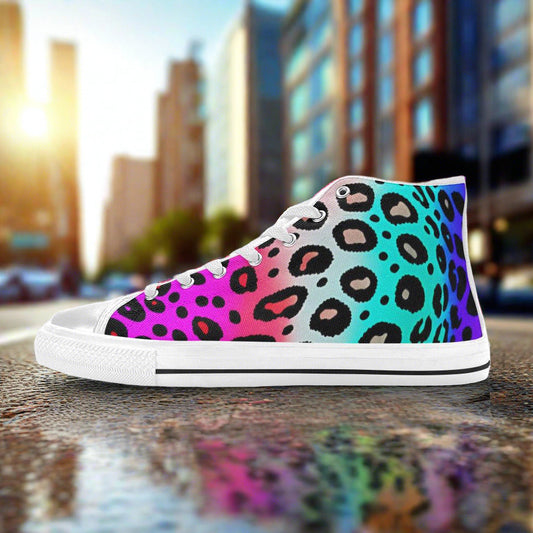
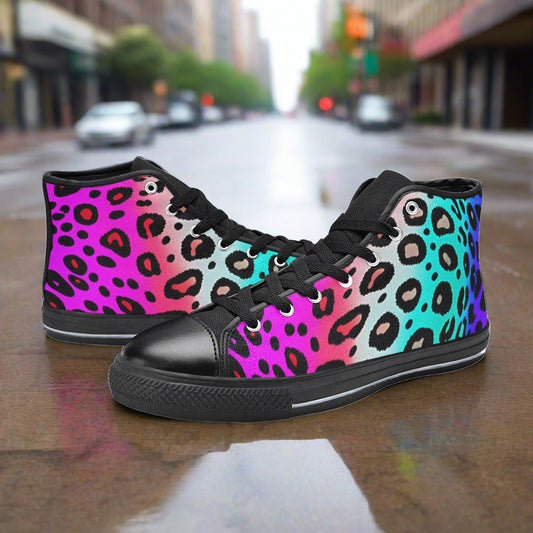
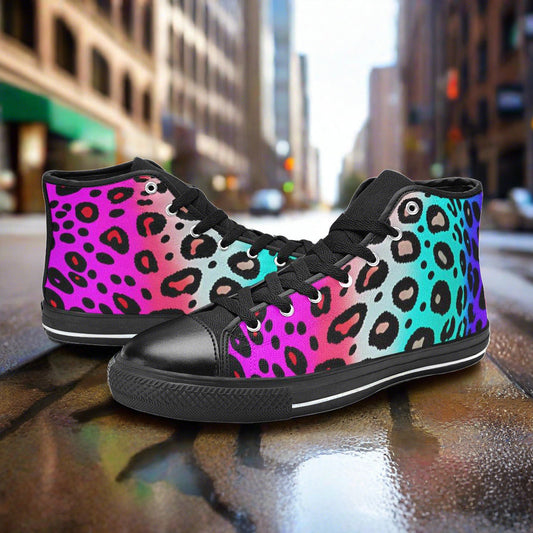
Gradient Leopard Print
Regular price $99Regular priceUnit price per -
Tie Dye Splash Retro Men
Regular price $99Regular priceUnit price per -
Japanese Fish Art Men
Regular price $99Regular priceUnit price per -
Japanese Dragon Art Men
Regular price $99Regular priceUnit price per -
Betsy Ross Flag
Regular price $99Regular priceUnit price per -
Autism Print Men
Regular price $99Regular priceUnit price per -
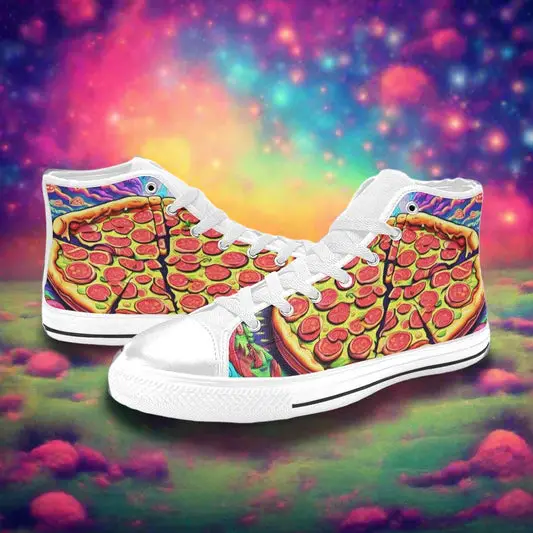
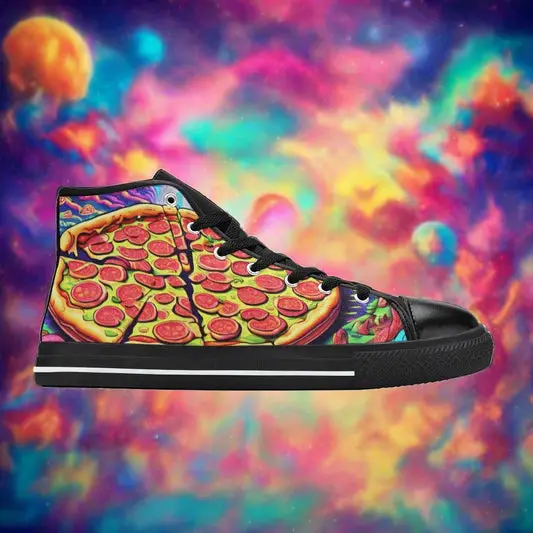
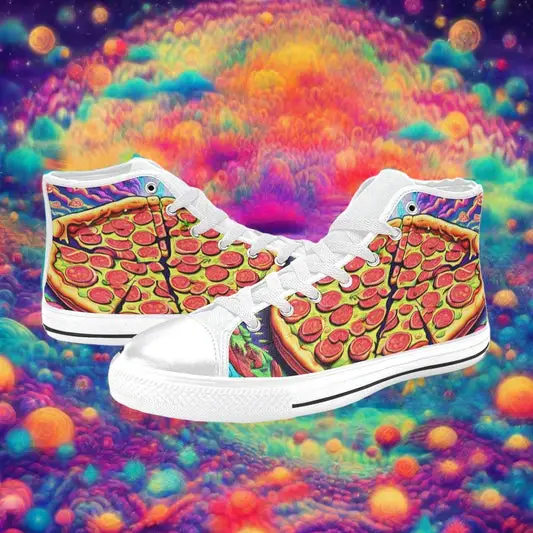
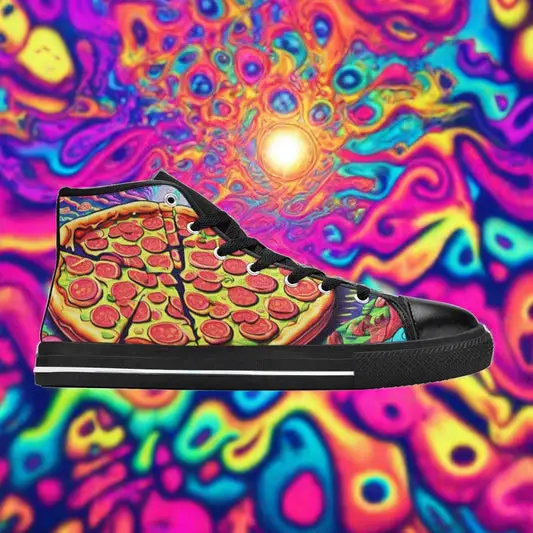
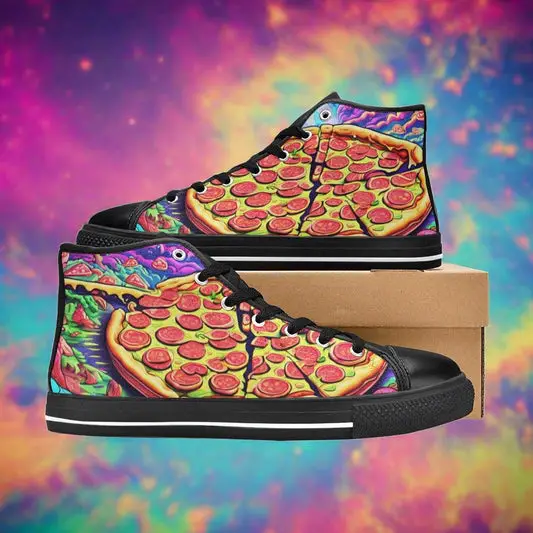
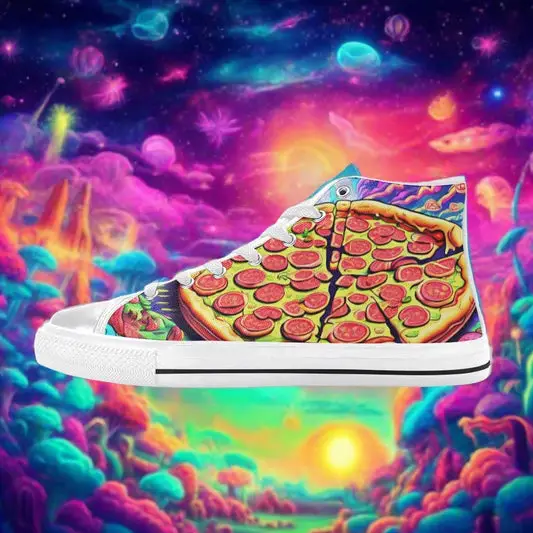
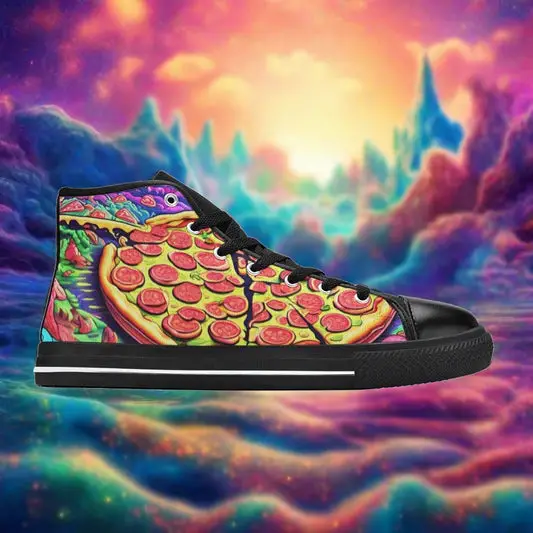
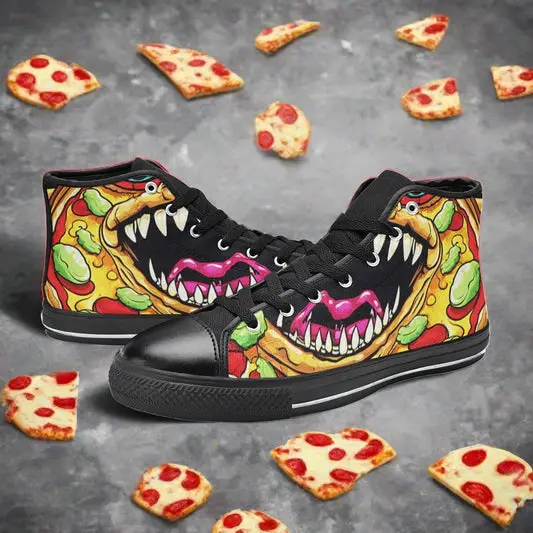
Pepperoni Pizza
Regular price $99Regular priceUnit price per -
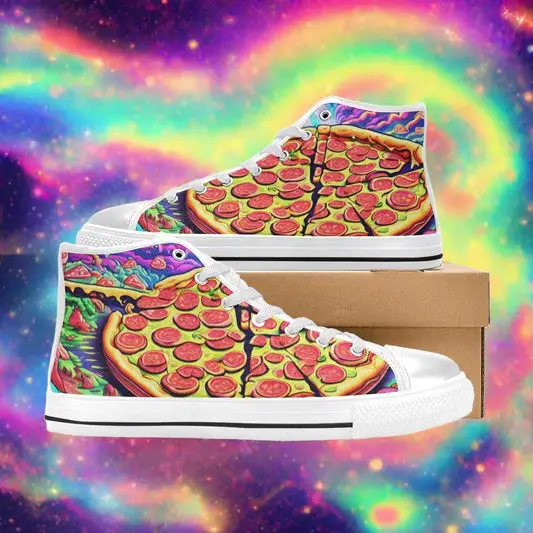
Pepperoni Pizza
Regular price $99Regular priceUnit price per -
Betsy Ross Flag
Regular price $99Regular priceUnit price per -
Freaky Shoes Men
Regular price $99Regular priceUnit price per -
Cheeseburger Monster Men
Regular price $99Regular priceUnit price per -
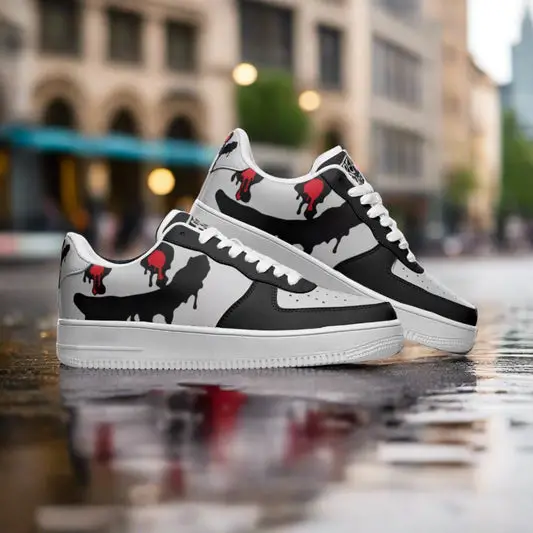
Dripping Monsters Grey Women
Regular price $99Regular priceUnit price per -
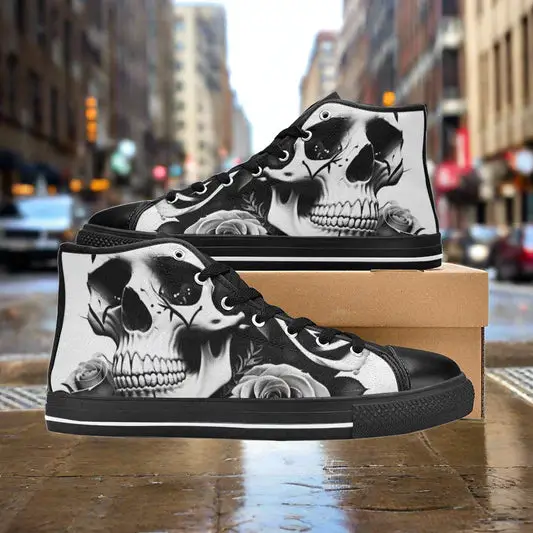
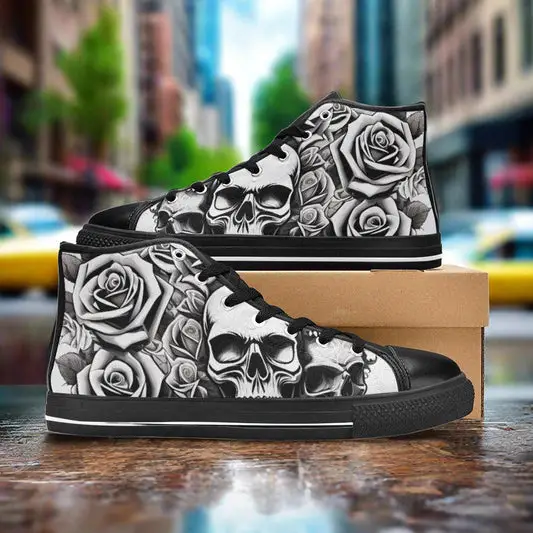
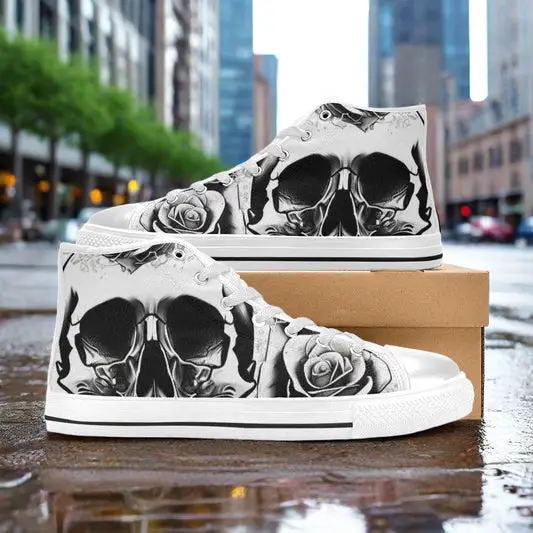
Freaky Shoes® Skulls & Roses Men
Regular price $99Regular priceUnit price per -
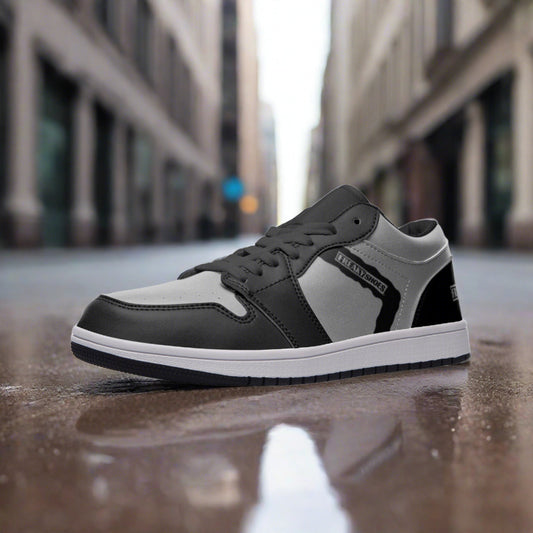
Black & Grey
Regular price $99Regular priceUnit price per -
Freaky Shoes
Regular price $99Regular priceUnit price per -
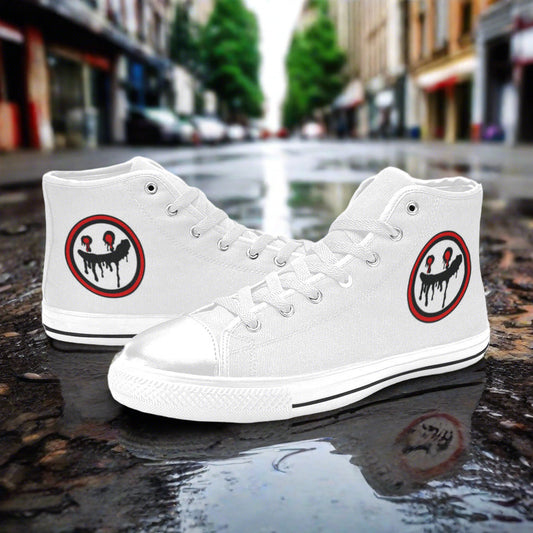
Jesus Saves Unisex High Top Canvas Shoes
Regular price $99Regular priceUnit price per -
Jesus Unisex High Top Canvas Shoes
Regular price $99Regular priceUnit price per -
Jesus Unisex High Top Canvas Shoes
Regular price $99Regular priceUnit price per -
Jesus Unisex High Top Canvas Shoes
Regular price $99Regular priceUnit price per -
Jesus Unisex High Top Canvas Shoes
Regular price $99Regular priceUnit price per -
Jesus Unisex High Top Canvas Shoes
Regular price $99Regular priceUnit price per -
Jesus Unisex High Top Canvas Shoes
Regular price $99Regular priceUnit price per -
Jesus Unisex High Top Canvas Shoes
Regular price $99Regular priceUnit price per -
Unisex High Top Canvas Shoes
Regular price $99Regular priceUnit price per -
Unisex High Top Canvas Shoes
Regular price $99Regular priceUnit price per -
Jesus Unisex High Top Canvas Shoes
Regular price $99Regular priceUnit price per -
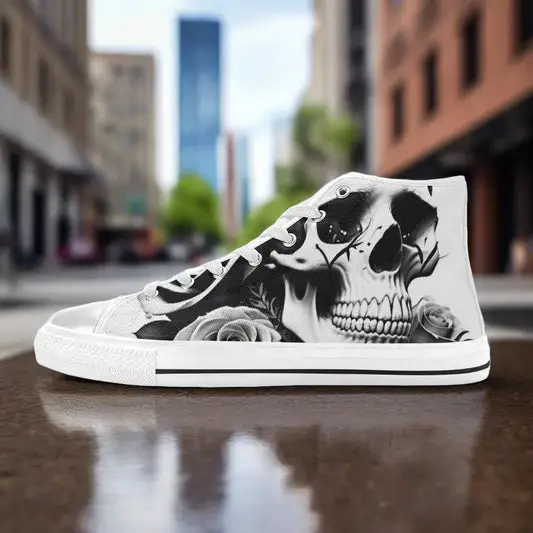
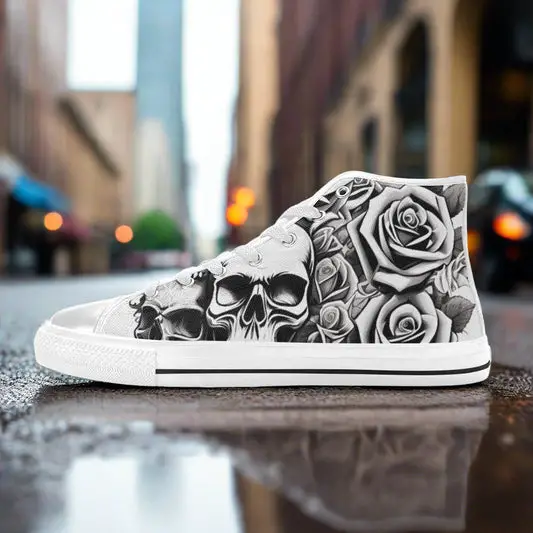
Skulls & Roses Freestyle Art
Regular price $99Regular priceUnit price per -
Freaky Shoes® Black Lace Up Sneakers
Regular price $99Regular priceUnit price per -
Freaky Shoes® White Red Lace Up Sneakers
Regular price $99Regular priceUnit price per -
Freaky Shoes® Freestyle Art Unisex Low Top Mesh Sneakers
Regular price $99Regular priceUnit price per -
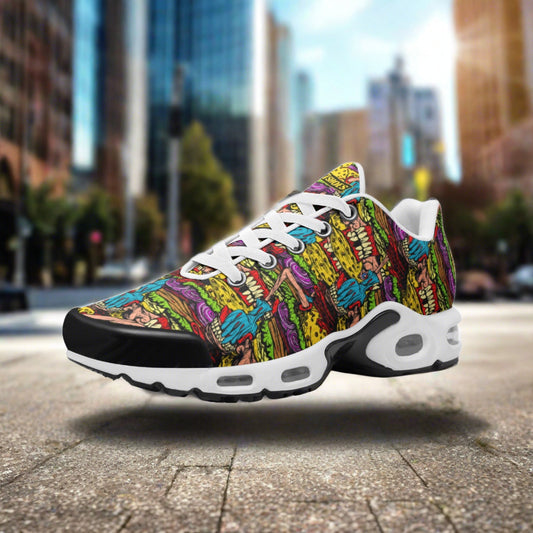
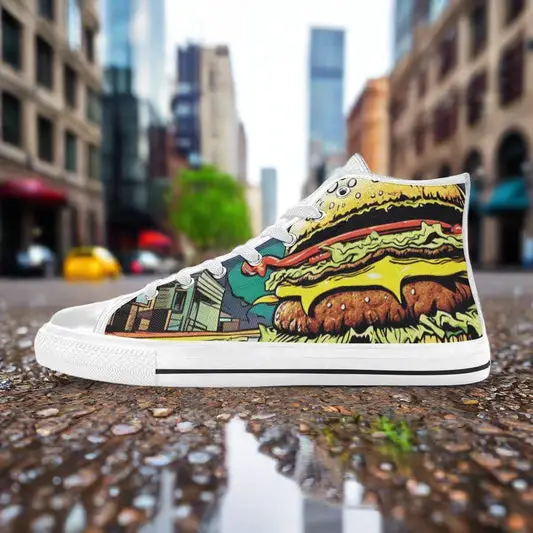
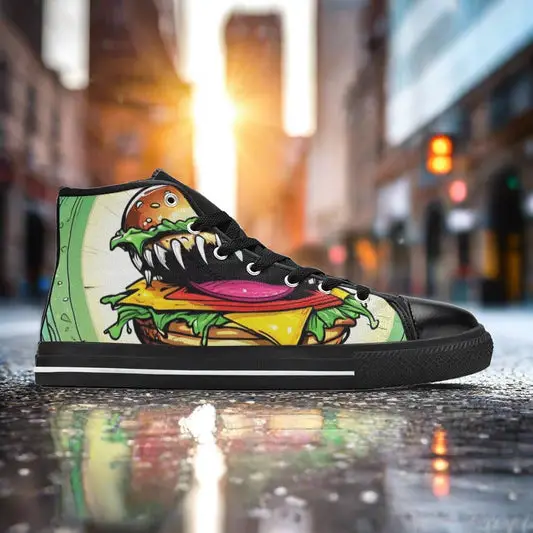
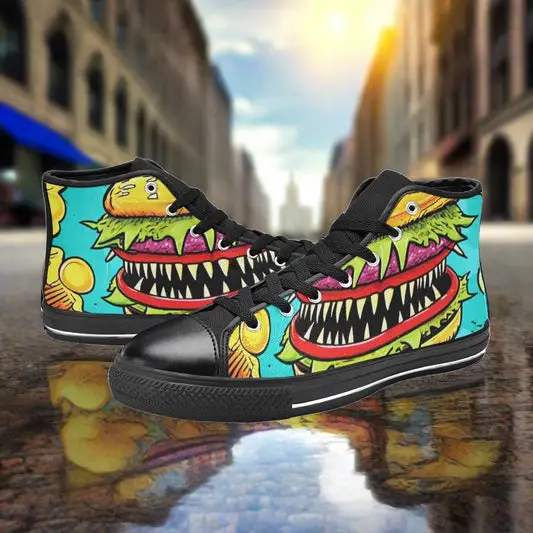
Cheeseburger Monster Freestyle Art
Regular price $99Regular priceUnit price per -
Cheeseburger Monster Freestyle Art
Regular price $99Regular priceUnit price per -
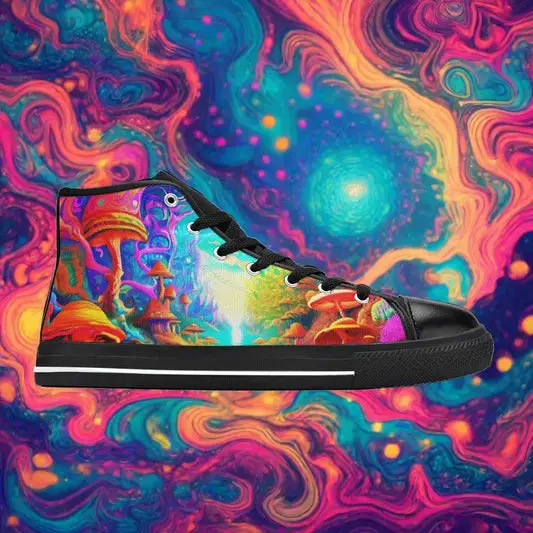
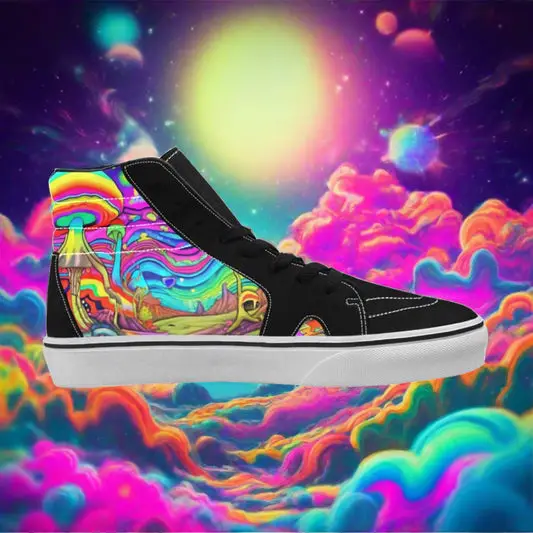
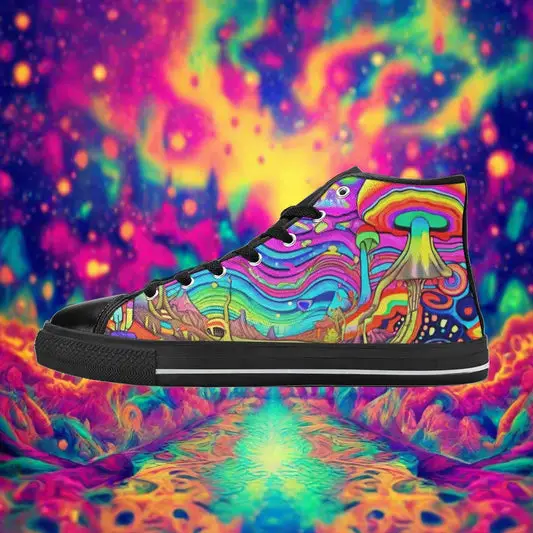
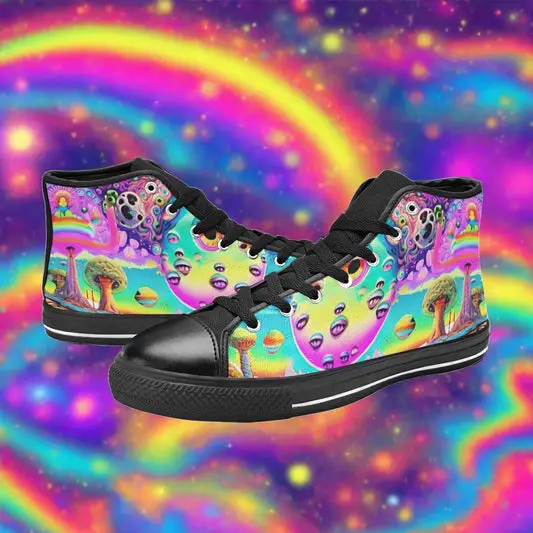
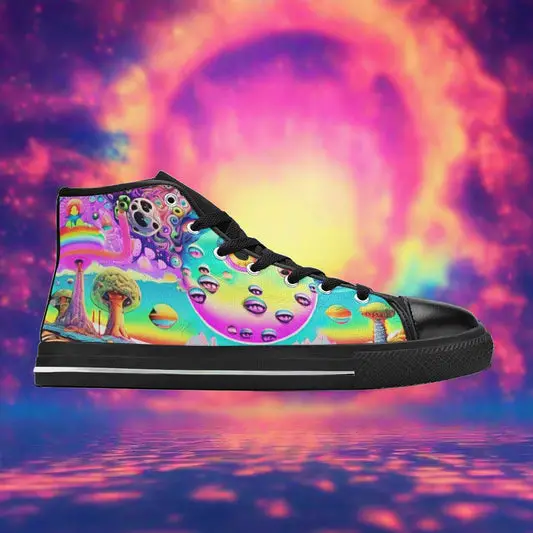
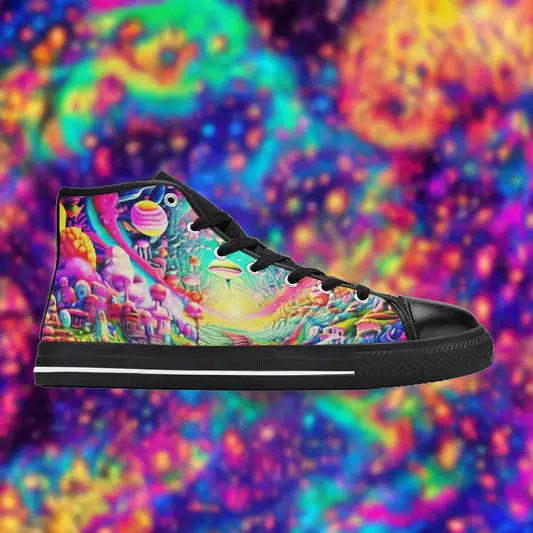
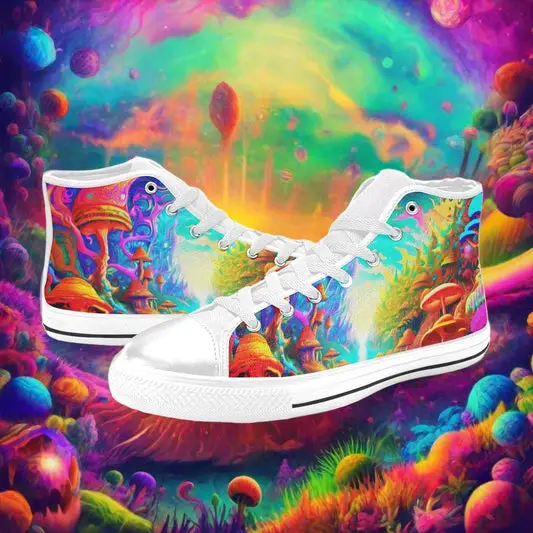
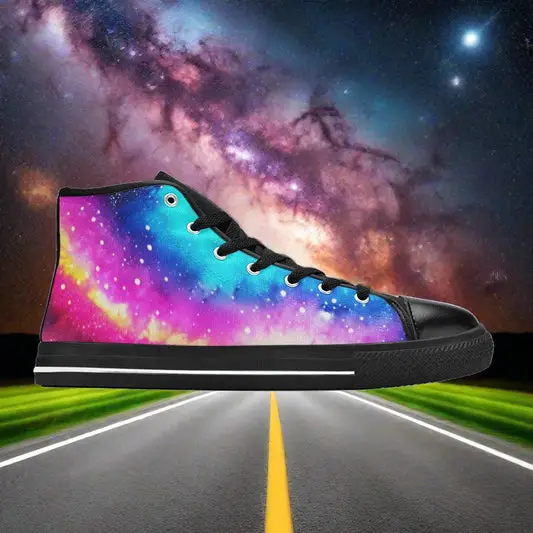
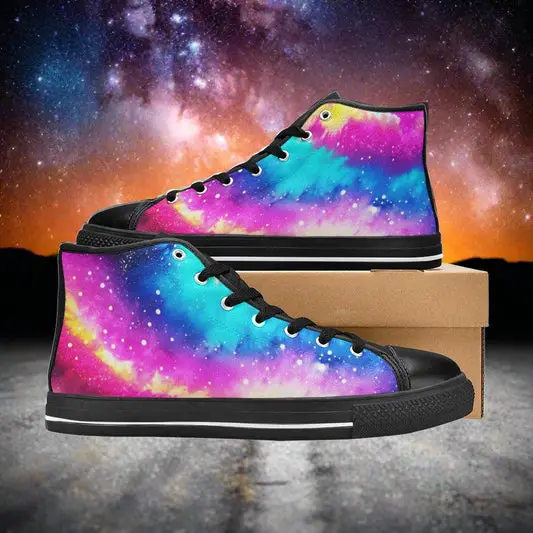
Galaxy Art
Regular price $99Regular priceUnit price per -
Galaxy Art
Regular price $99Regular priceUnit price per -
Galaxy Art
Regular price $99Regular priceUnit price per -
Galaxy Art
Regular price $99Regular priceUnit price per -
Galaxy Art
Regular price $99Regular priceUnit price per -
Pineapples Please Women
Regular price $99Regular priceUnit price per -
Pineapples Please Women
Regular price $99Regular priceUnit price per -
Pineapples Please Women
Regular price $99Regular priceUnit price per -
Pineapples Please Women
Regular price $99Regular priceUnit price per -
Pineapples Please Women
Regular price $99Regular priceUnit price per -
Pineapples Please Women
Regular price $99Regular priceUnit price per -
Pineapples Please Women
Regular price $99Regular priceUnit price per -
Pineapples Please Women
Regular price $99Regular priceUnit price per -
Pineapples Please Women
Regular price $99Regular priceUnit price per -
Pineapples Please Men
Regular price $99Regular priceUnit price per -
Pineapples Please Men
Regular price $99Regular priceUnit price per -
Pineapples Please Men
Regular price $99Regular priceUnit price per -
Pineapples Please Men
Regular price $99Regular priceUnit price per -
Pineapples Please Men
Regular price $99Regular priceUnit price per -
Pineapples Please Women
Regular price $99Regular priceUnit price per -
Pineapples Please Men
Regular price $99Regular priceUnit price per -
Pineapples Please Men
Regular price $99Regular priceUnit price per -
Freaky Shoes® Freestyle Art Printed Tongue Unisex Low Top Canvas Shoes
Regular price $99Regular priceUnit price per -
Freaky Shoes® Freestyle Art Unisex Mesh Tech Eco-Flex Sneakers
Regular price $99Regular priceUnit price per -
Freaky Shoes® Black & Grey Unisex Low Top Leather Sneakers
Regular price $99Regular priceUnit price per -
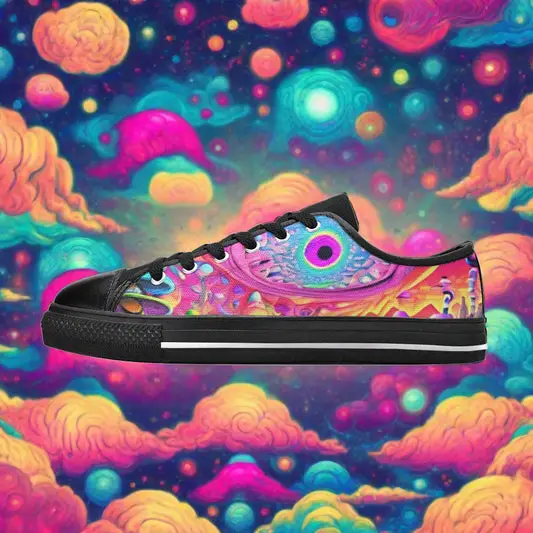
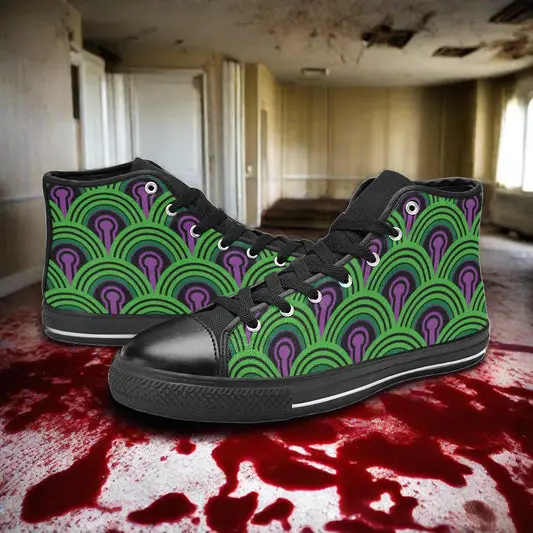
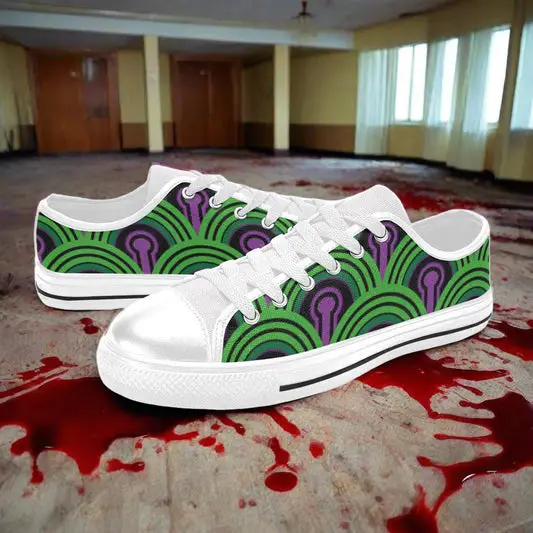
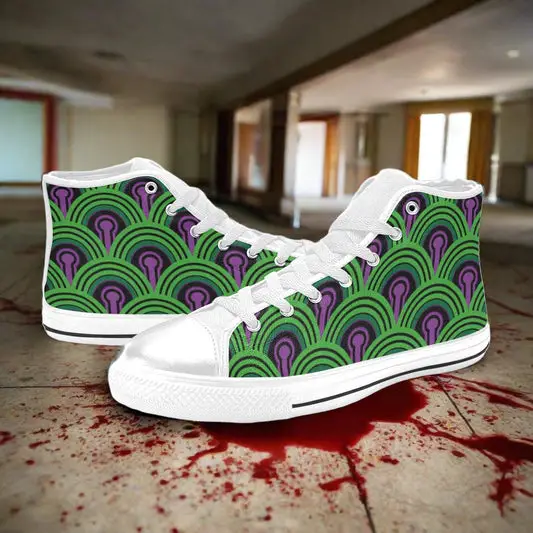
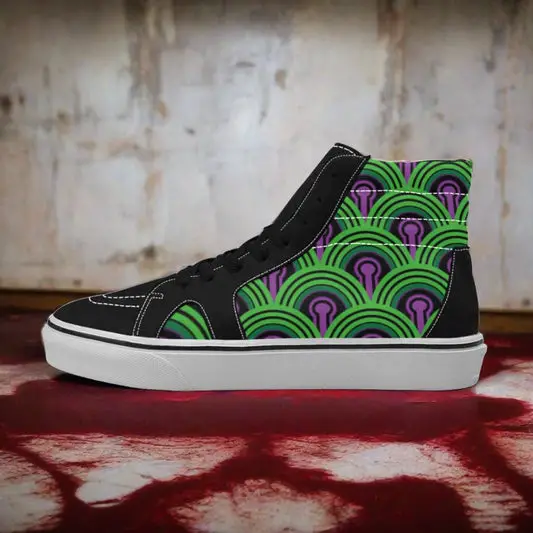
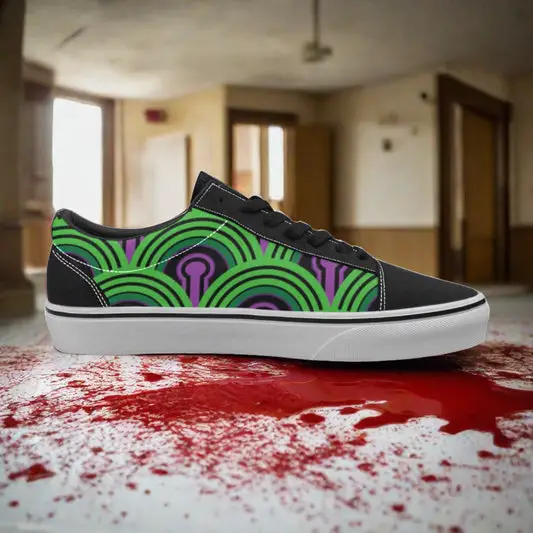
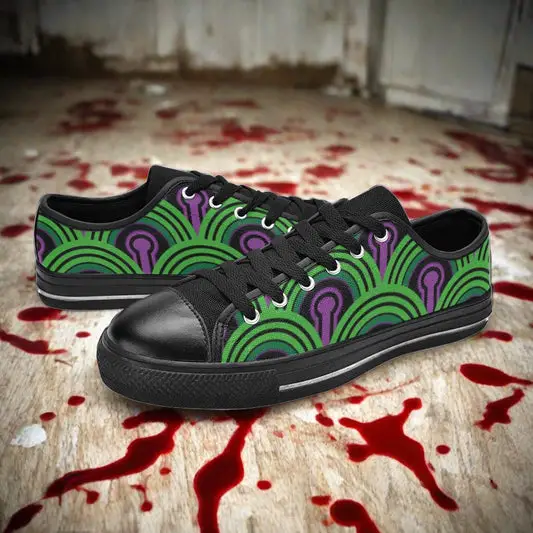
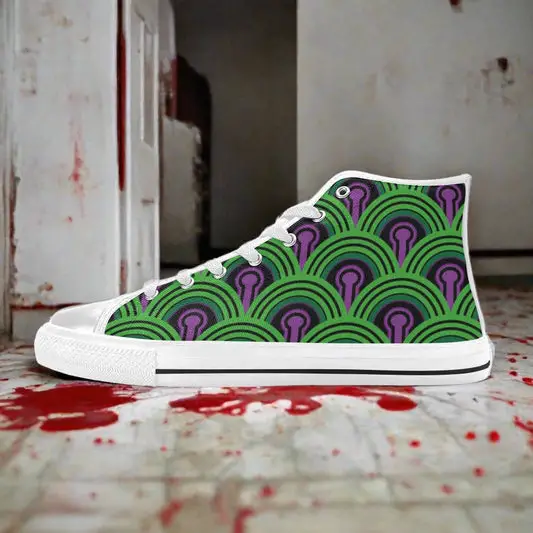
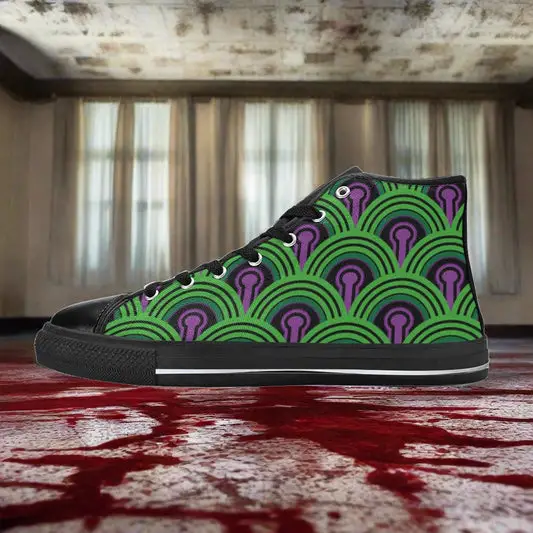
Carpet Pattern Art
Regular price $99Regular priceUnit price per -
Carpet Pattern Art
Regular price $99Regular priceUnit price per -
Carpet Pattern Art
Regular price $99Regular priceUnit price per -
Carpet Pattern Art
Regular price $99Regular priceUnit price per -
Carpet Pattern Art
Regular price $99Regular priceUnit price per -
Carpet Pattern Art
Regular price $99Regular priceUnit price per -
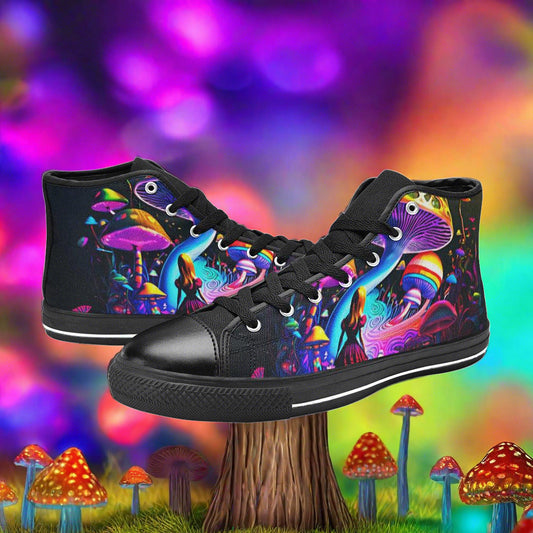
Trippy Art Women
Regular price $99Regular priceUnit price per -
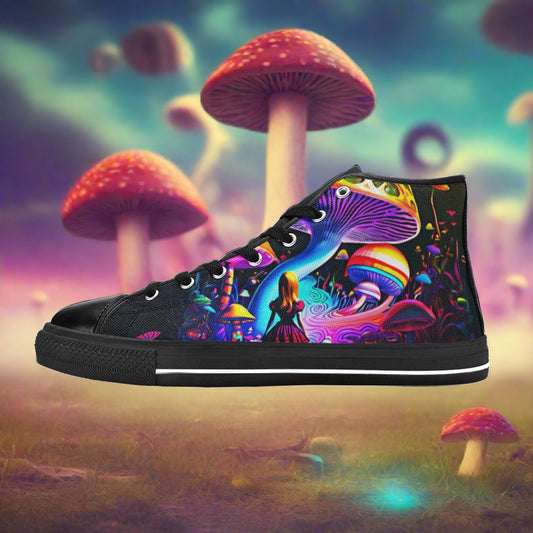
Trippy Art Men
Regular price $99Regular priceUnit price per -
Trippy Art Women
Regular price $99Regular priceUnit price per -
Trippy Art Women
Regular price $99Regular priceUnit price per -
Trippy Art Women
Regular price $99Regular priceUnit price per -
Trippy Art Women
Regular price $99Regular priceUnit price per -
Trippy Art Women
Regular price $99Regular priceUnit price per -
Trippy Art Women
Regular price $99Regular priceUnit price per -
Trippy Art Men
Regular price $99Regular priceUnit price per -
Trippy Art Men
Regular price $99Regular priceUnit price per -
Trippy Art Men
Regular price $99Regular priceUnit price per -
Trippy Art Women
Regular price $99Regular priceUnit price per -
Trippy Art Men
Regular price $99Regular priceUnit price per -
Trippy Art Women
Regular price $99Regular priceUnit price per -
Trippy Art Women
Regular price $99Regular priceUnit price per -
Trippy Art Men
Regular price $99Regular priceUnit price per -
Creepy Art Women
Regular price $99Regular priceUnit price per -
Creepy Art Men
Regular price $99Regular priceUnit price per -
Trippy Art Women
Regular price $99Regular priceUnit price per -
Trippy Art Women
Regular price $99Regular priceUnit price per -
Trippy Art Men
Regular price $99Regular priceUnit price per -
Trippy Art Women
Regular price $99Regular priceUnit price per -
Trippy Art Women
Regular price $99Regular priceUnit price per -
Carpet Pattern Art Women
Regular price $99Regular priceUnit price per -
Carpet Pattern Art Women
Regular price $99Regular priceUnit price per -
Carpet Pattern Art Women
Regular price $99Regular priceUnit price per -
Carpet Pattern Art Women
Regular price $99Regular priceUnit price per -
Carpet Pattern Art Women
Regular price $99Regular priceUnit price per -
Carpet Pattern Art Women
Regular price $99Regular priceUnit price per -
Carpet Pattern Art Men
Regular price $99Regular priceUnit price per -
Carpet Pattern Art Men
Regular price $99Regular priceUnit price per -
Carpet Pattern Art Men
Regular price $99Regular priceUnit price per -
Carpet Pattern Art Men
Regular price $99Regular priceUnit price per -
Carpet Pattern Art Men
Regular price $99Regular priceUnit price per -
Carpet Pattern Art Men
Regular price $99Regular priceUnit price per -
Carpet Pattern Art
Regular price $99Regular priceUnit price per -
Carpet Pattern Art
Regular price $99Regular priceUnit price per -
Fantasy Art Men
Regular price $99Regular priceUnit price per -
Fantasy Art Men
Regular price $99Regular priceUnit price per -
Fantasy Art Men
Regular price $99Regular priceUnit price per -
Fantasy Art Men
Regular price $99Regular priceUnit price per -
Fantasy Art Women
Regular price $99Regular priceUnit price per -
Fantasy Art Women
Regular price $99Regular priceUnit price per -
Fantasy Art Women
Regular price $99Regular priceUnit price per -
Fantasy Art Women
Regular price $99Regular priceUnit price per -
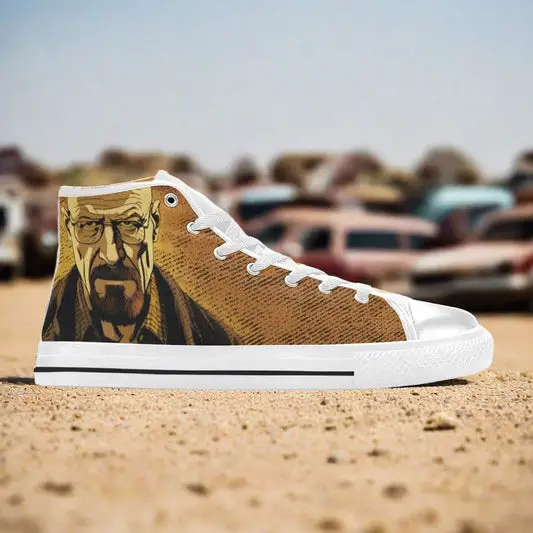
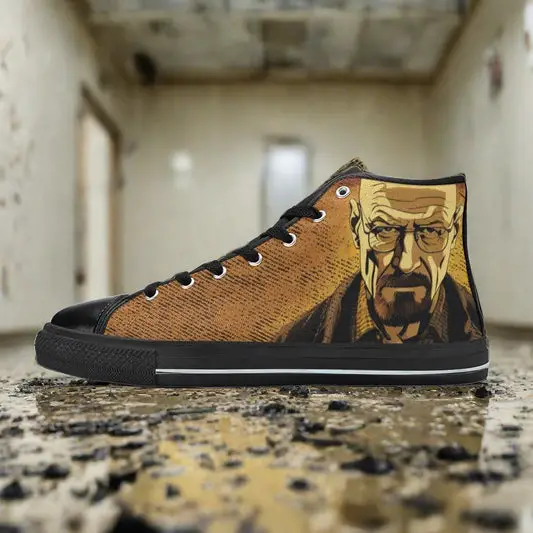
Walt Women
Regular price $99Regular priceUnit price per -
Walt Women
Regular price $99Regular priceUnit price per -
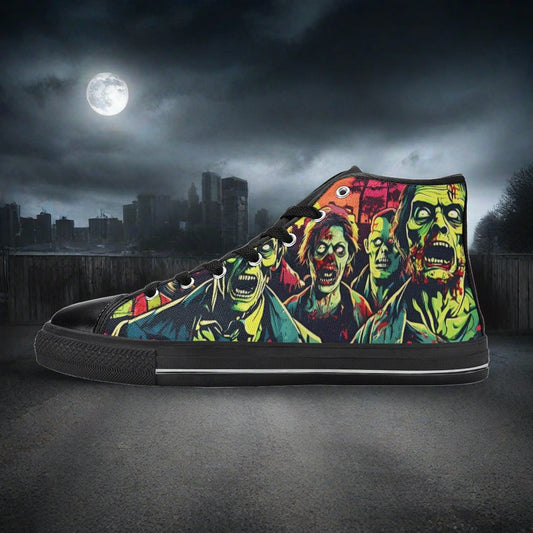
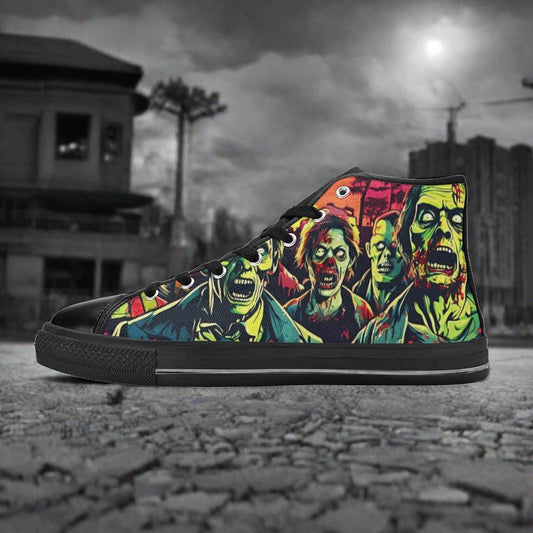
Zombie Art Men
Regular price $99Regular priceUnit price per -
Zombie Art Women
Regular price $99Regular priceUnit price per -
Zombie Art Women
Regular price $99Regular priceUnit price per -
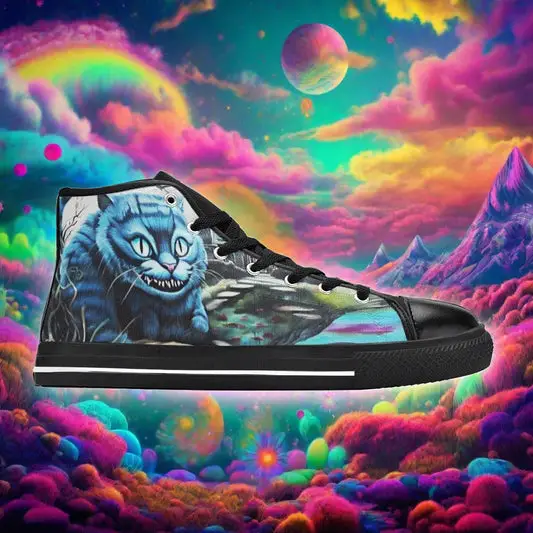
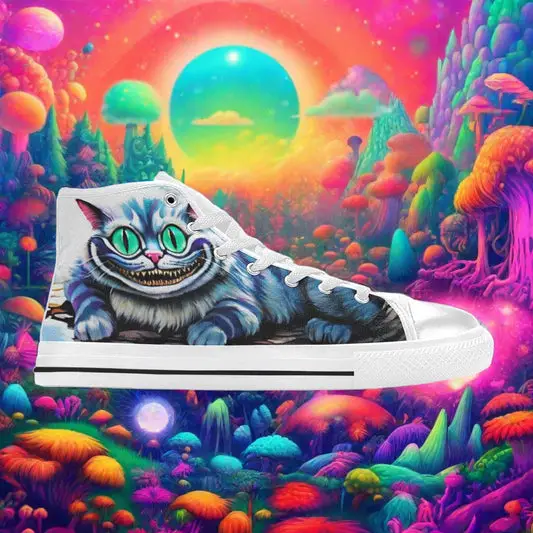
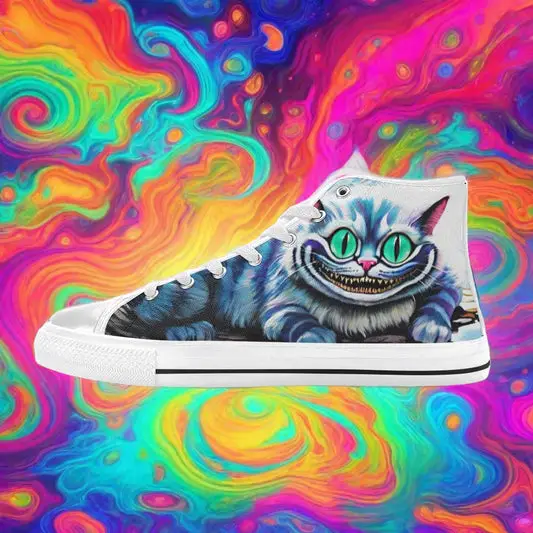
Fantasy Cat Women
Regular price $99Regular priceUnit price per -
Fantasy Cat Women
Regular price $99Regular priceUnit price per -
Fantasy Cat Women
Regular price $99Regular priceUnit price per -
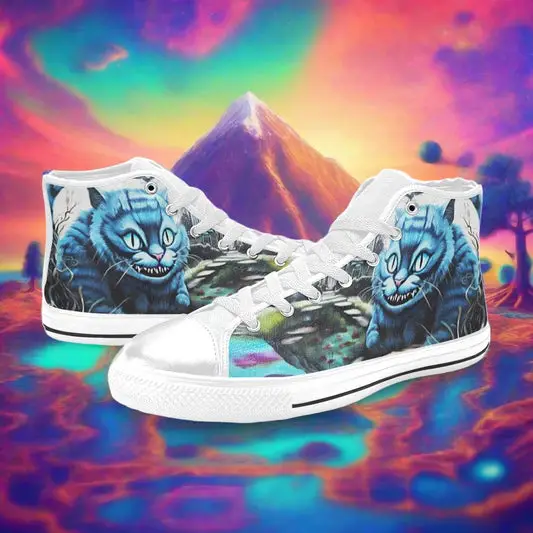
Fantasy Cat Men
Regular price $99Regular priceUnit price per -
Fantasy Cat Men
Regular price $99Regular priceUnit price per -
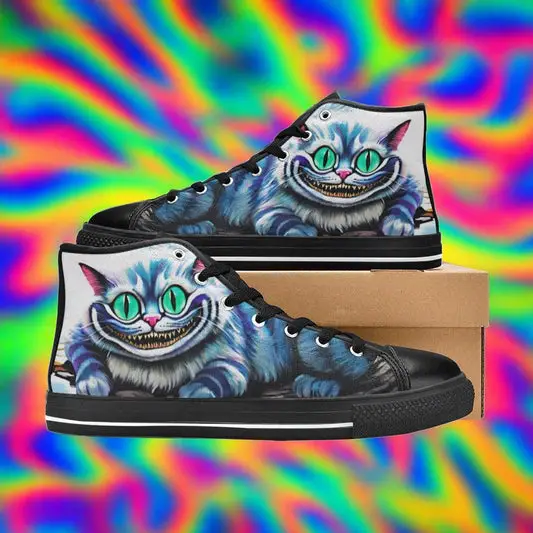
Fantasy Cat Men
Regular price $99Regular priceUnit price per -
Fantasy Cat Men
Regular price $99Regular priceUnit price per -
Fantasy Cat Men
Regular price $99Regular priceUnit price per -
Fantasy Art Women
Regular price $99Regular priceUnit price per -
Fantasy Art Women
Regular price $99Regular priceUnit price per -
Fantasy Art Men
Regular price $99Regular priceUnit price per -
Fantasy Art Men
Regular price $99Regular priceUnit price per -
Fantasy Art Men
Regular price $99Regular priceUnit price per -
Fantasy Art Women
Regular price $99Regular priceUnit price per -
Fantasy Art Women
Regular price $99Regular priceUnit price per -
Skull Art Men
Regular price $99Regular priceUnit price per -
Skull Art Women
Regular price $99Regular priceUnit price per -
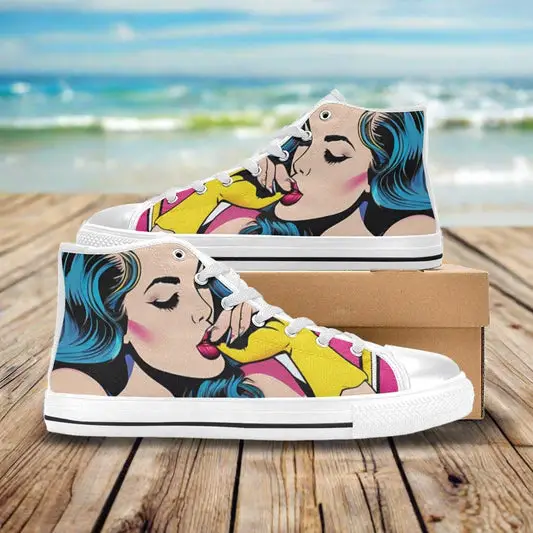
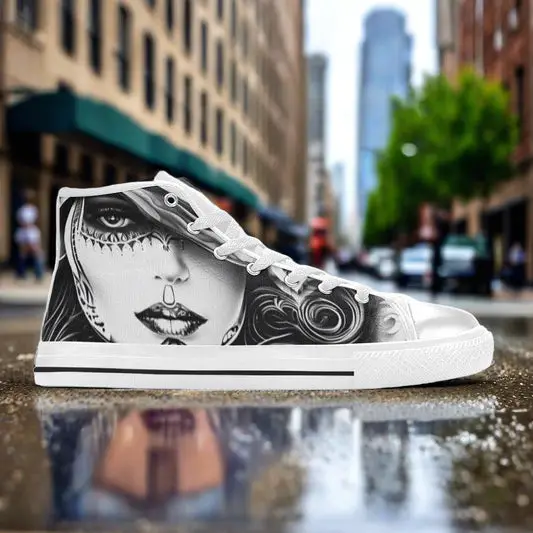
Retro Woman Art Men
Regular price $99Regular priceUnit price per -
Retro Woman Art Men
Regular price $99Regular priceUnit price per -
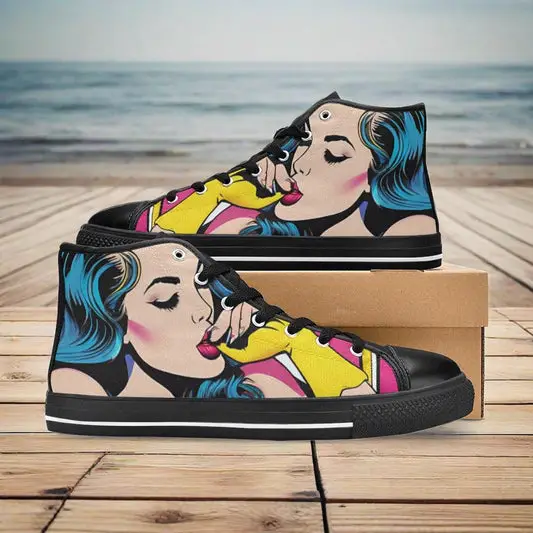
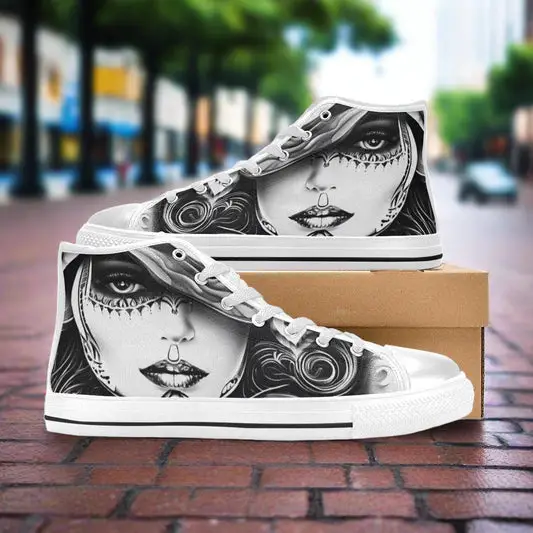
Retro Woman Art Woman
Regular price $99Regular priceUnit price per -
Retro Woman Art Women
Regular price $99Regular priceUnit price per -
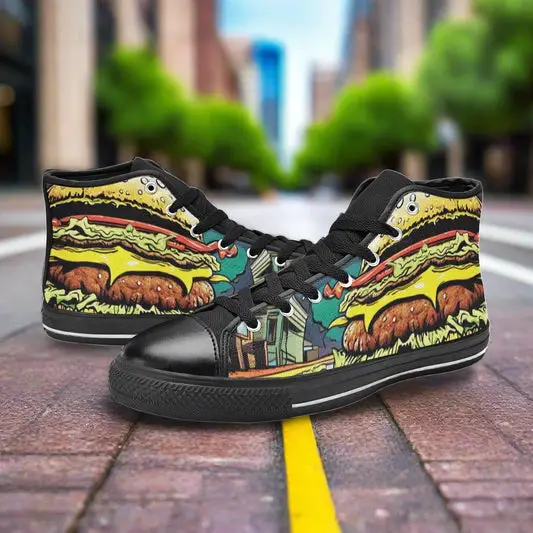
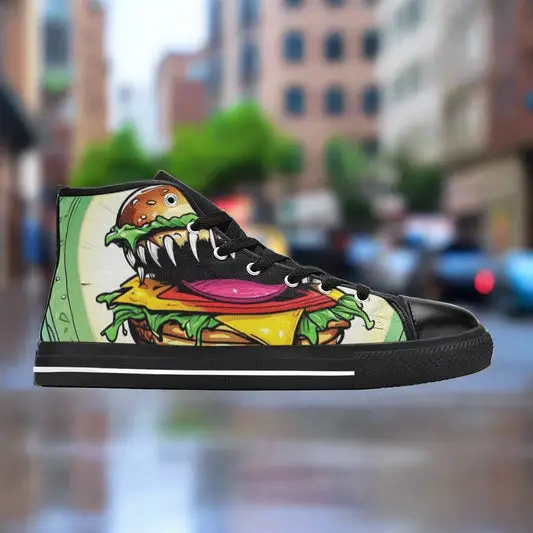
Cheeseburger Monster Men
Regular price $99Regular priceUnit price per -
Cheeseburger Monster Men
Regular price $99Regular priceUnit price per -
Cheeseburger Monster Women
Regular price $99Regular priceUnit price per -
Cheeseburger Monster Women
Regular price $99Regular priceUnit price per -
Cheeseburger Monster Men
Regular price $99Regular priceUnit price per -
Cheeseburger Monster Women
Regular price $99Regular priceUnit price per -
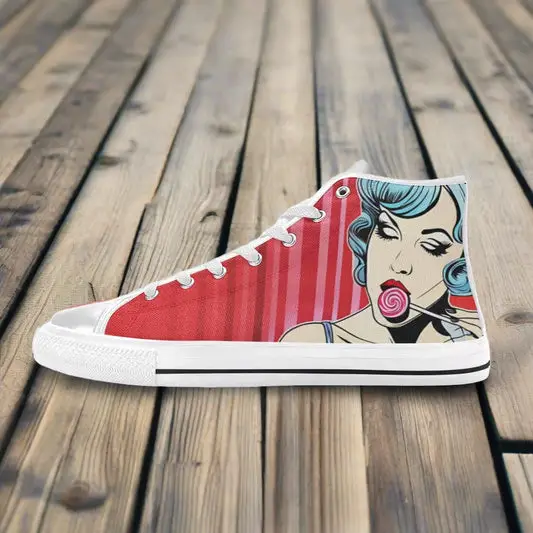
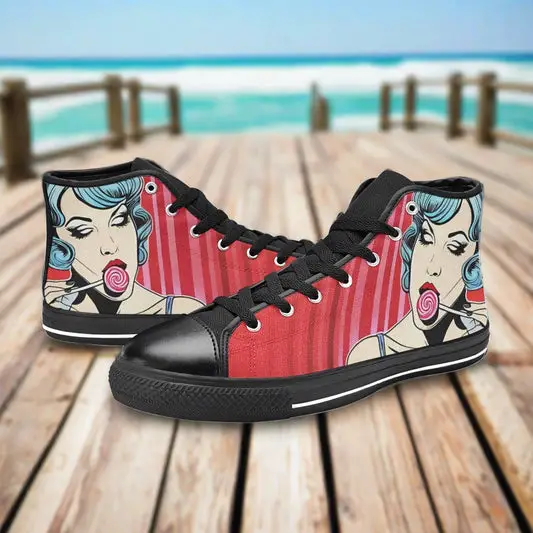
Lollipop Women
Regular price $99Regular priceUnit price per -
Lollipop Women
Regular price $99Regular priceUnit price per -
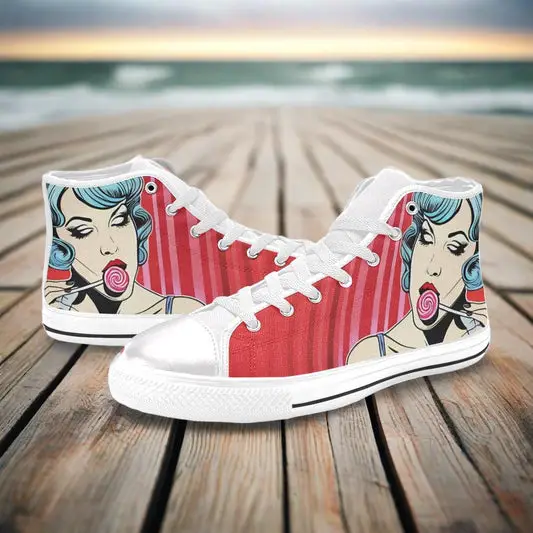
Lollipop Men
Regular price $99Regular priceUnit price per -
Lollipop Men
Regular price $99Regular priceUnit price per -
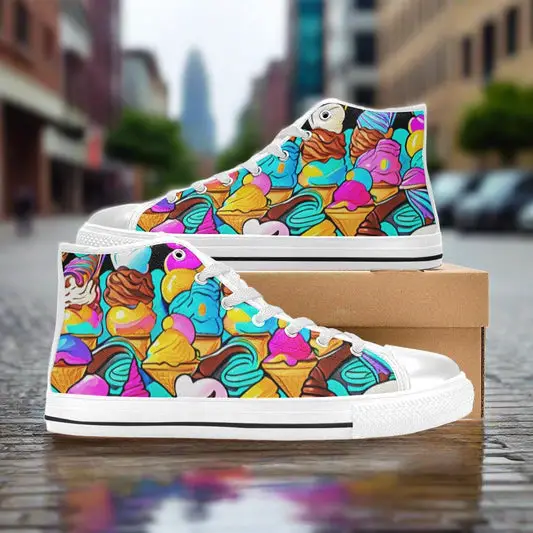
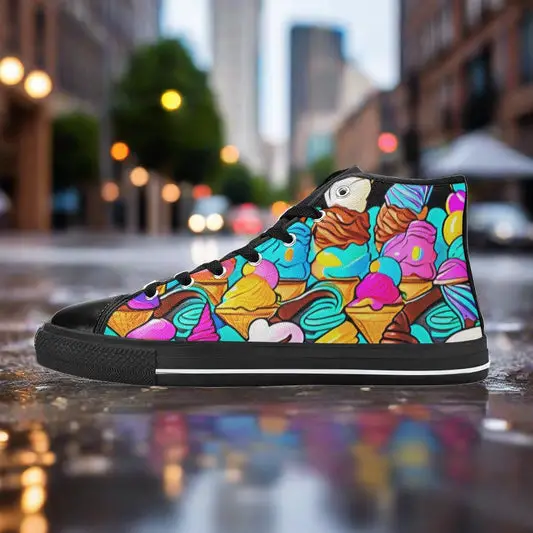
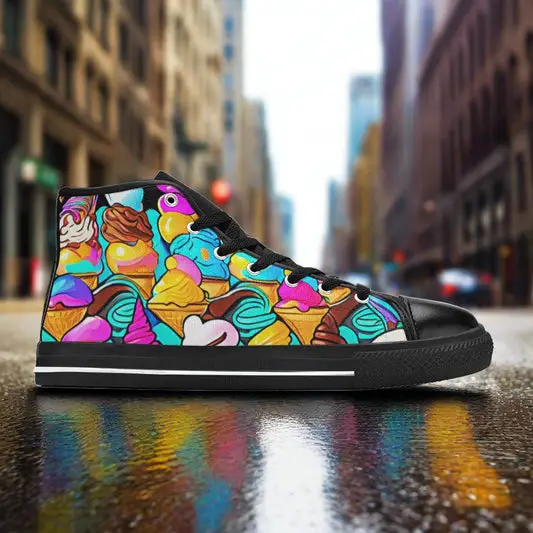
Ice Cream Women
Regular price $99Regular priceUnit price per -
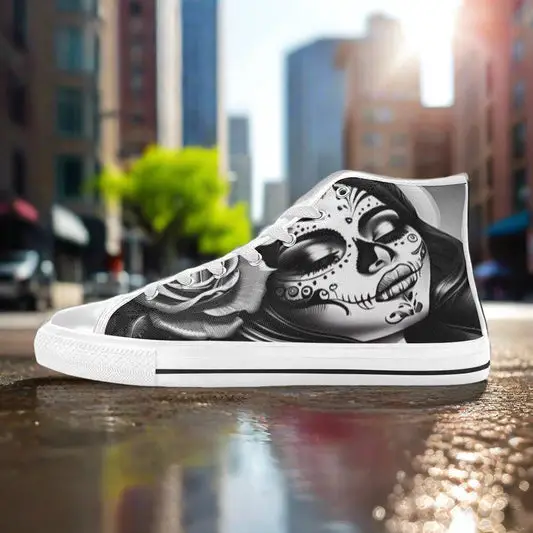
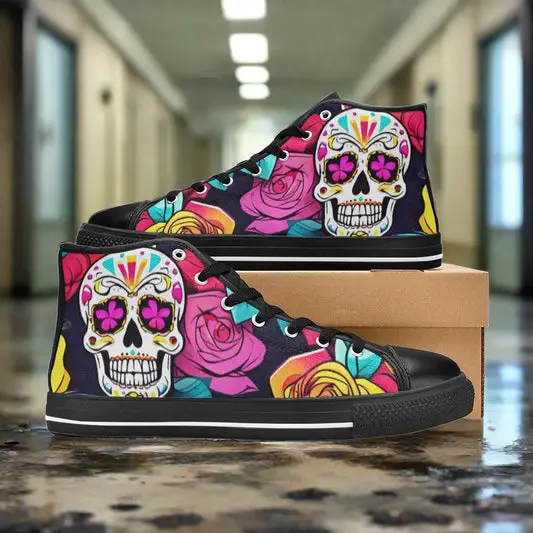
Sugar Skull Woman Women
Regular price $99Regular priceUnit price per -
Sugar Skull Woman Men
Regular price $99Regular priceUnit price per -
Sugar Skull Woman Men
Regular price $99Regular priceUnit price per -
Sugar Skull Woman Women
Regular price $99Regular priceUnit price per -
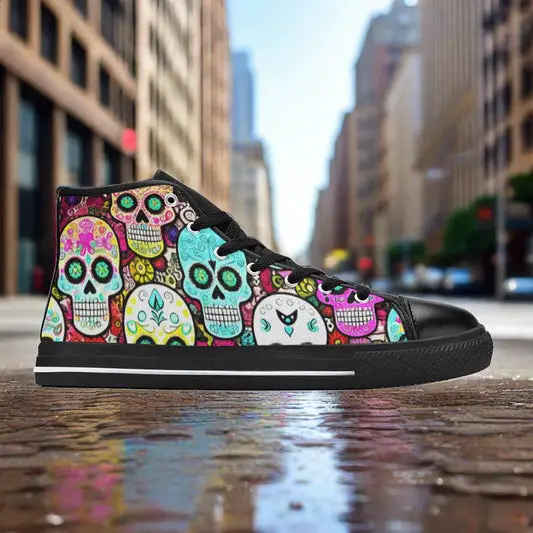
Sugar Skulls Women
Regular price $99Regular priceUnit price per -
Sugar Skulls Men
Regular price $99Regular priceUnit price per -
Trippy Art Women
Regular price $99Regular priceUnit price per -
Sugar Skull Art Women
Regular price $99Regular priceUnit price per -
Sugar Skull Woman Men
Regular price $99Regular priceUnit price per -
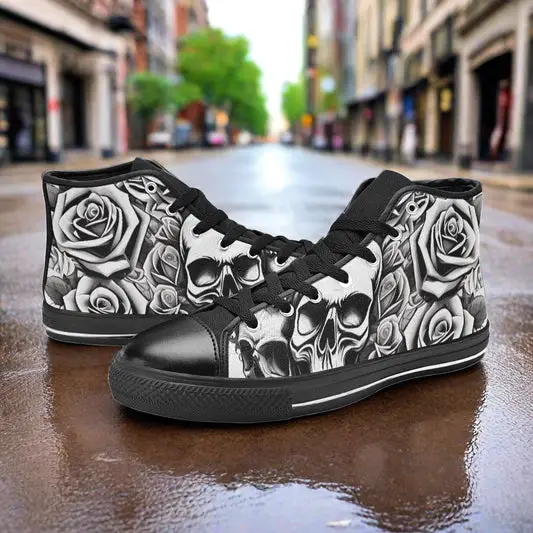
Skull & Roses Women
Regular price $99Regular priceUnit price per -
Skull & Roses Women
Regular price $99Regular priceUnit price per -
Skull & Roses Men
Regular price $99Regular priceUnit price per -
Skull & Roses Men
Regular price $99Regular priceUnit price per -
Skulls & Roses Women
Regular price $99Regular priceUnit price per -
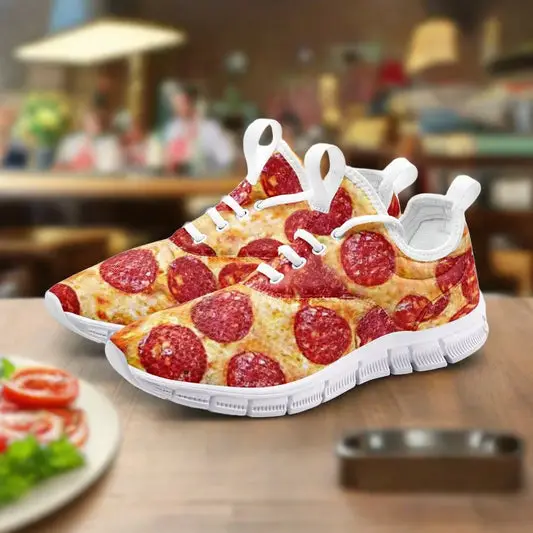
Trippy Pizza Men
Regular price $99Regular priceUnit price per -
Trippy Pizza Men
Regular price $99Regular priceUnit price per -
Trippy Pizza Women
Regular price $99Regular priceUnit price per -
Trippy Pizza Women
Regular price $99Regular priceUnit price per -
Trippy Pizza Men
Regular price $99Regular priceUnit price per -
Trippy Pizza Men
Regular price $99Regular priceUnit price per -
Trippy Pizza Women
Regular price $99Regular priceUnit price per -
Trippy Pizza Women
Regular price $99Regular priceUnit price per -
Skull & Roses Men
Regular price $99Regular priceUnit price per -
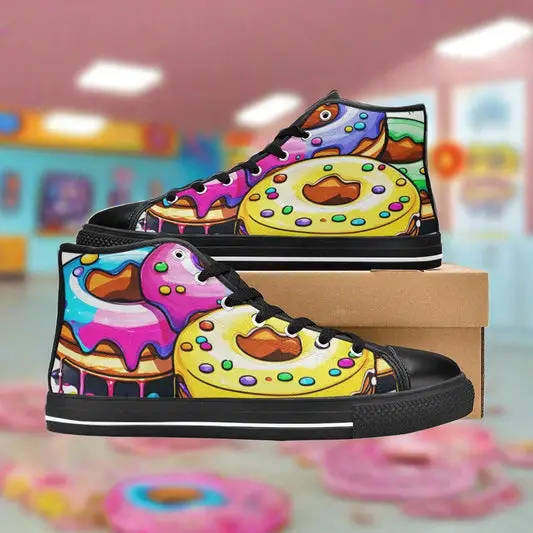
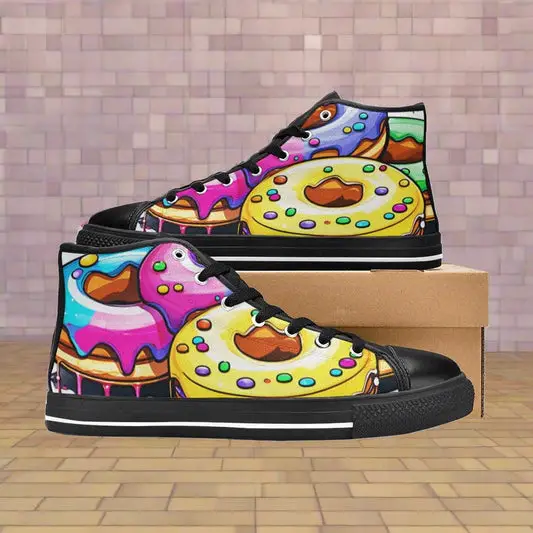
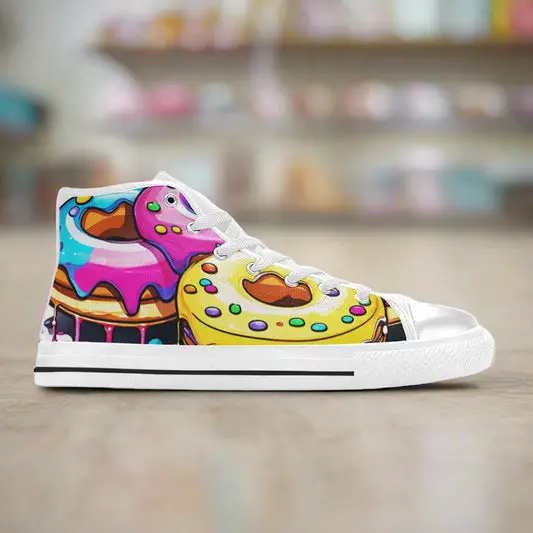
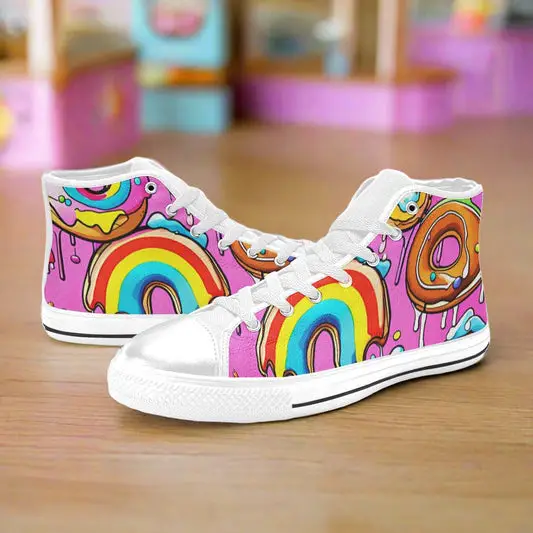
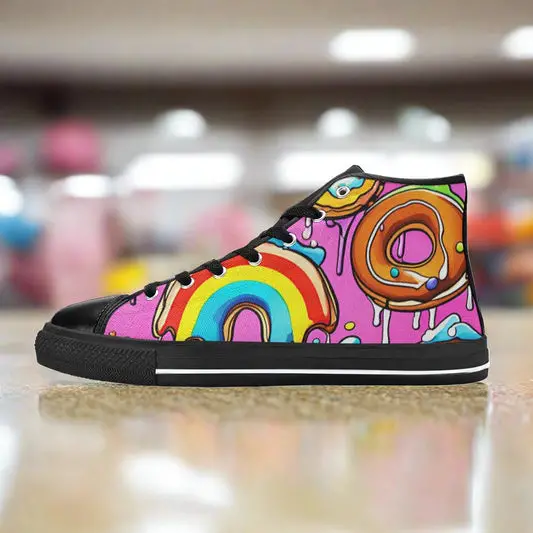
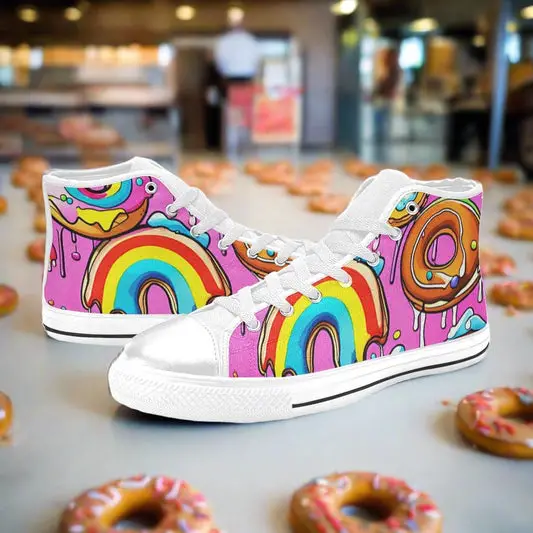
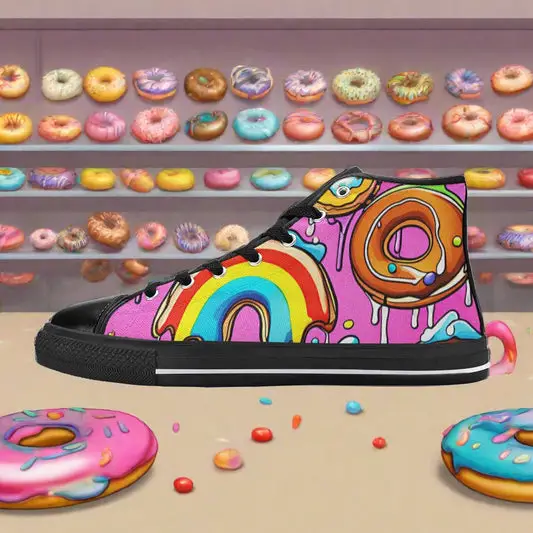
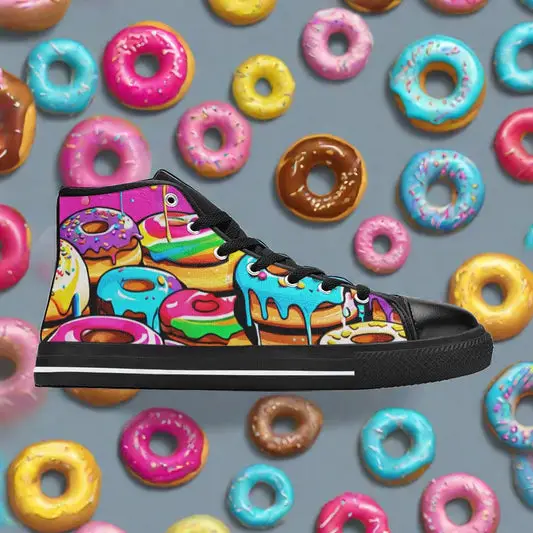
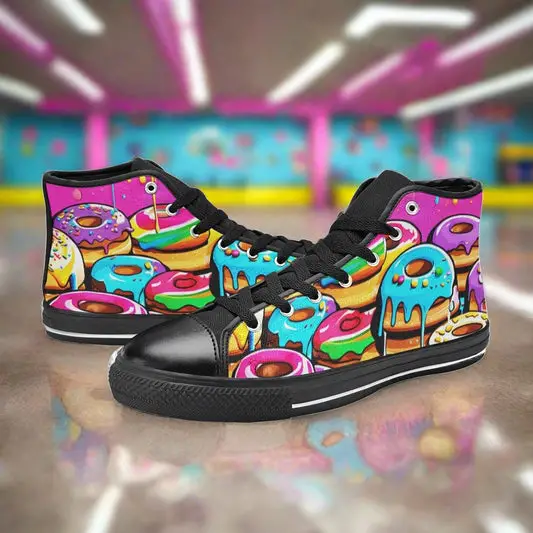
Dripping Donuts Men
Regular price $99Regular priceUnit price per -
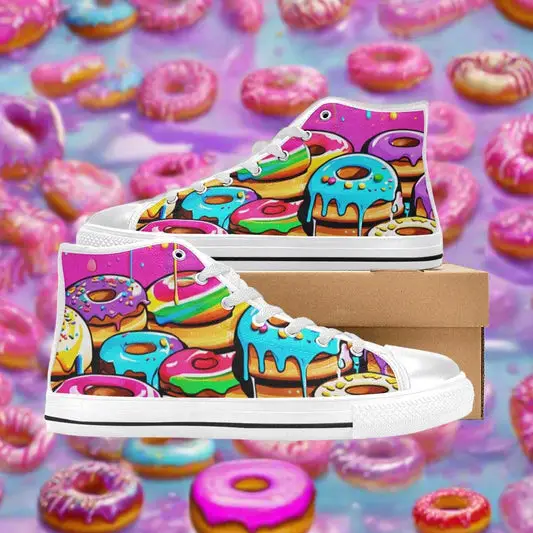
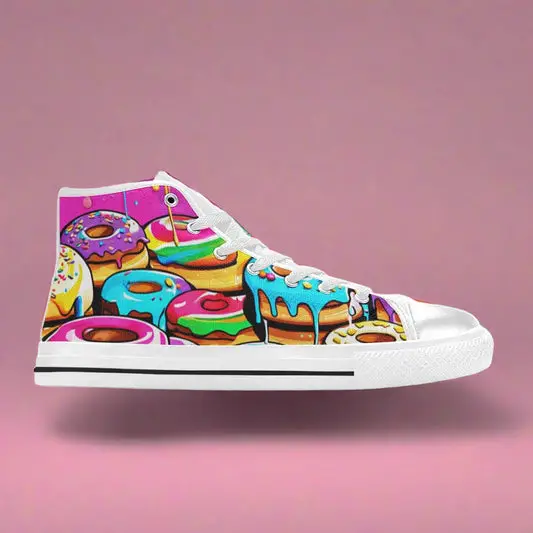
Dripping Donuts Women
Regular price $99Regular priceUnit price per -
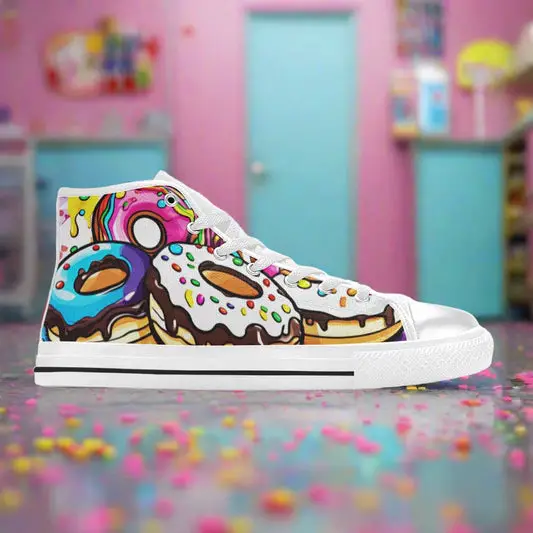
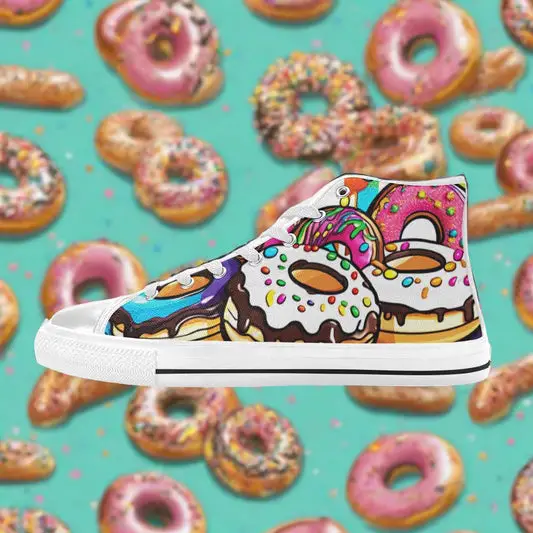
Dripping Donuts Men
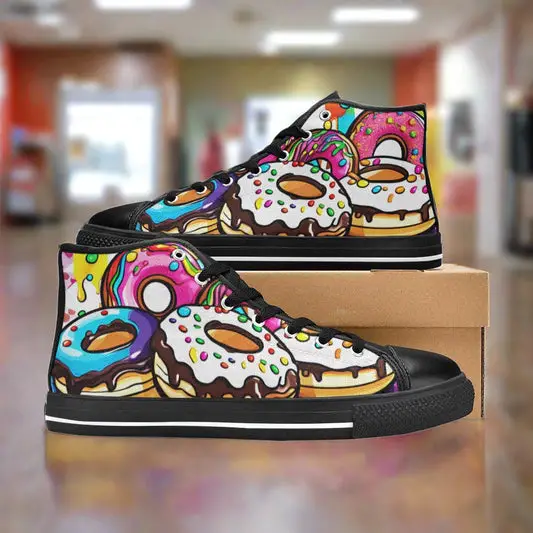
Regular price $99Regular priceUnit price per -
Dripping Donuts Women
Regular price $99Regular priceUnit price per -
Dripping Donuts Women
Regular price $99Regular priceUnit price per -
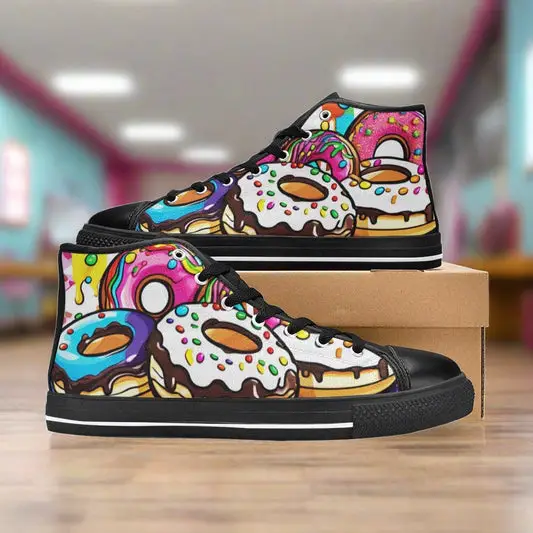
Dripping Donuts Men
Regular price $99Regular priceUnit price per -
Dripping Donuts Men
Regular price $99Regular priceUnit price per -
Dripping Donuts Women
Regular price $99Regular priceUnit price per -
Dripping Donuts Women
Regular price $99Regular priceUnit price per -
Dripping Donuts Women
Regular price $99Regular priceUnit price per -
Dripping Donuts Women
Regular price $99Regular priceUnit price per -
Dripping Donuts Men
Regular price $99Regular priceUnit price per -
Dripping Donuts Men
Regular price $99Regular priceUnit price per -
Dripping Donuts Men
Regular price $99Regular priceUnit price per -
Dripping Donuts Men
Regular price $99Regular priceUnit price per -
Skulls & Roses Women
Regular price $99Regular priceUnit price per -
Skulls & Roses Men
Regular price $99Regular priceUnit price per -
Skulls & Roses Men
Regular price $99Regular priceUnit price per -
Sugar Skull & Roses Women
Regular price $99Regular priceUnit price per -
Sugar Skull & Roses Men
Regular price $99Regular priceUnit price per -
Galaxy Tie Dye Men
Regular price $99Regular priceUnit price per -
Galaxy Tie Dye Men
Regular price $99Regular priceUnit price per -
Galaxy Tie Dye Women
Regular price $99Regular priceUnit price per -
Galaxy Tie Dye Women
Regular price $99Regular priceUnit price per -
Galaxy Tie Dye Men
Regular price $99Regular priceUnit price per -
Galaxy Tie Dye Men
Regular price $99Regular priceUnit price per -
Galaxy Tie Dye Women
Regular price $99Regular priceUnit price per -
Galaxy Tie Dye Women
Regular price $99Regular priceUnit price per -
Galaxy Tie Dye Men
Regular price $99Regular priceUnit price per -
Galaxy Tie Dye Men
Regular price $99Regular priceUnit price per -
Scary Pizza Women
Regular price $99Regular priceUnit price per -
Scary Pizza Men
Regular price $99Regular priceUnit price per -
Cheeseburger Monster Women
Regular price $99Regular priceUnit price per -
Cheeseburger Monster Men
Regular price $99Regular priceUnit price per -
Ice Cream Women
Regular price $99Regular priceUnit price per -
Ice Cream Men
Regular price $99Regular priceUnit price per -
Grey Skulls & Roses Women
Regular price $99Regular priceUnit price per -
Grey Skull & Roses Men
Regular price $99Regular priceUnit price per -
Grey Skull & Roses Men
Regular price $99Regular priceUnit price per -
Grey Skull & Rose Women
Regular price $99Regular priceUnit price per -
Grey Skull & Rose Men
Regular price $99Regular priceUnit price per -
Grey Skull & Rose Women
Regular price $99Regular priceUnit price per -
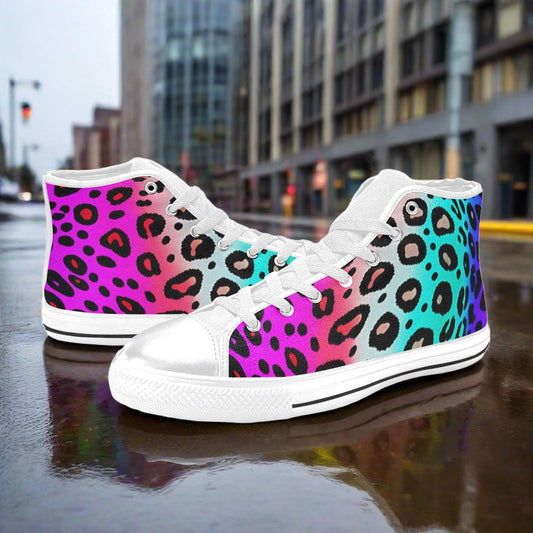
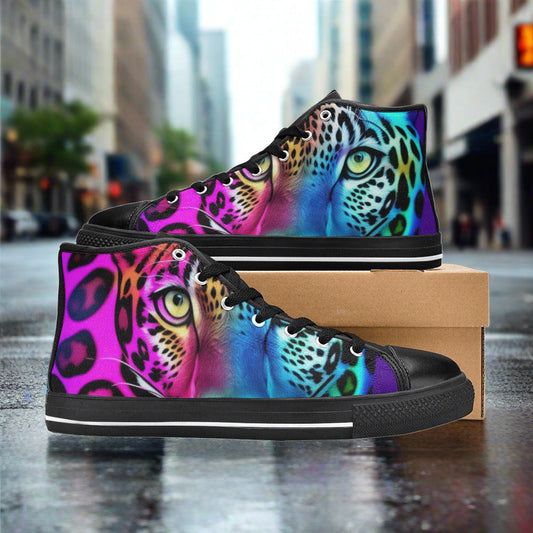
Colored Leopard Print Men
Regular price $99Regular priceUnit price per -
Colored Leopard Print Women
Regular price $99Regular priceUnit price per -
Colored Leopard Print Women
Regular price $99Regular priceUnit price per -
Colored Leopard Print Men
Regular price $99Regular priceUnit price per -
Colored Leopard Print Women
Regular price $99Regular priceUnit price per -
Colored Leopard Print Men
Regular price $99Regular priceUnit price per


Ready To Wear Custom Shoes Collection
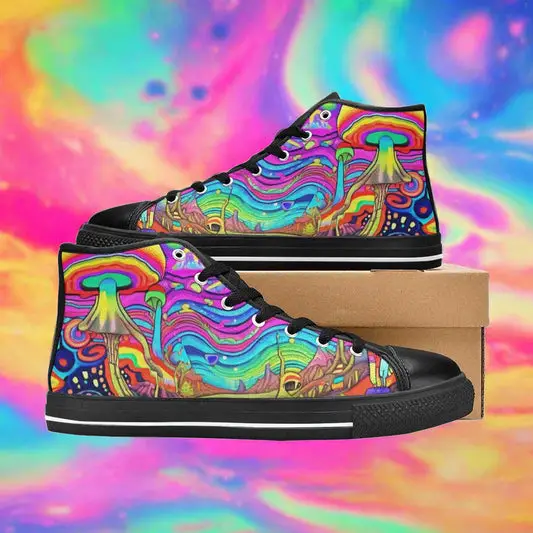
Welcome to our ready-to-wear custom shoes collection at Freaky Shoes, featuring premium handcrafted sneakers made to order with stunning pre-designed graphics. While we love when customers design their own custom shoes using our online shoe customizer, we understand not everyone has the time or creative confidence to create from scratch. That's exactly why our ready-to-wear collection exists – to provide you with professionally designed custom sneakers that are ready to order and ship. Each pair in our ready-to-wear collection showcases carefully curated artwork, from vibrant tie dye patterns and majestic unicorns to iconic Van Gogh masterpieces and bold skull designs. These made-to-order custom shoes feature premium materials, professional printing techniques, and comfortable construction that delivers both style and durability. Our ready-to-wear custom sneakers span every aesthetic imaginable: patriotic American flags, tropical pineapples, spooky Halloween themes, psychedelic mushrooms, cosmic galaxies, adorable cats, fierce animal prints, and so much more. Whether you're shopping for gaming shoes with video game graphics, horror sneakers with scary monsters, or retro kicks with vintage comic book designs, our ready-to-wear collection offers something for everyone. These custom made shoes eliminate the guesswork while still delivering the unique, personalized footwear that Freaky Shoes is known for. Simply browse our extensive collection of pre-designed themes, select your favorite style, choose your size, and we'll handcraft your custom sneakers specifically for you. Perfect for gift-giving when you know someone's style but want to surprise them, or ideal for anyone who loves unique custom footwear but prefers selecting from expertly designed options. Shop our ready-to-wear custom shoe collection today and experience the perfect blend of convenience and creativity, where professional designs meet personalized craftsmanship for truly unique sneakers that express your personality without the design commitment.
Custom Made Ready To Wear Freaky Shoes®
We offer a wide range of ready-to-wear designs that provide different tastes and preferences. Whether you're a patriot, a foodie, or someone who appreciates unique patterns, Freaky Shoes has something special for you.
Let's take a look at some of our standout designs:
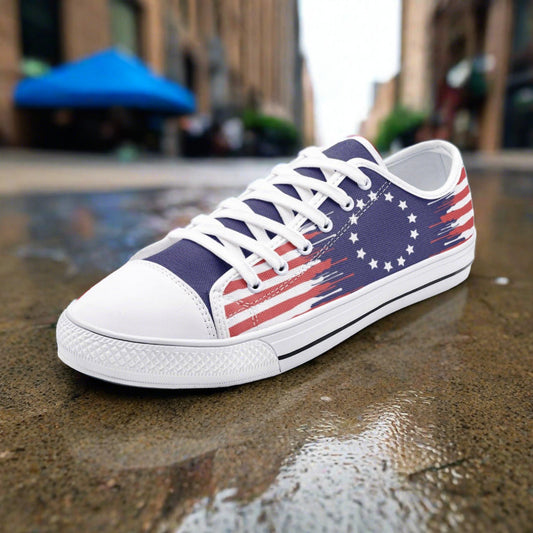
- Betsy Ross Flag: Show off your patriotic spirit with our Betsy Ross Flag-inspired custom shoes. These shoes are not just a fashion statement; they're a celebration of freedom and style.
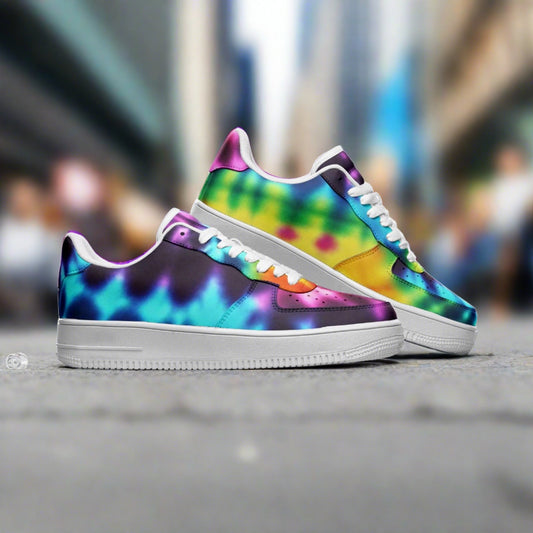
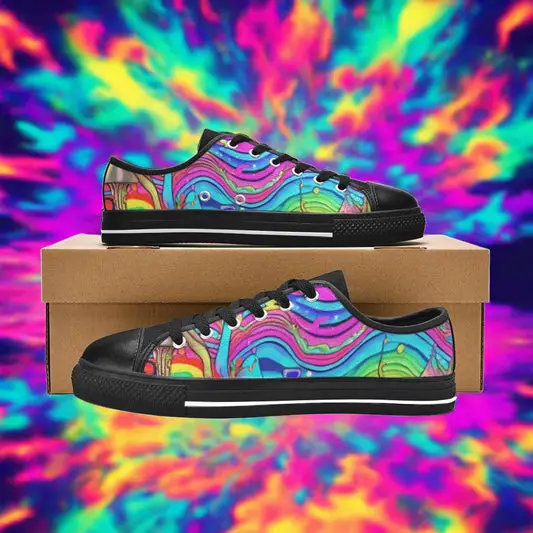
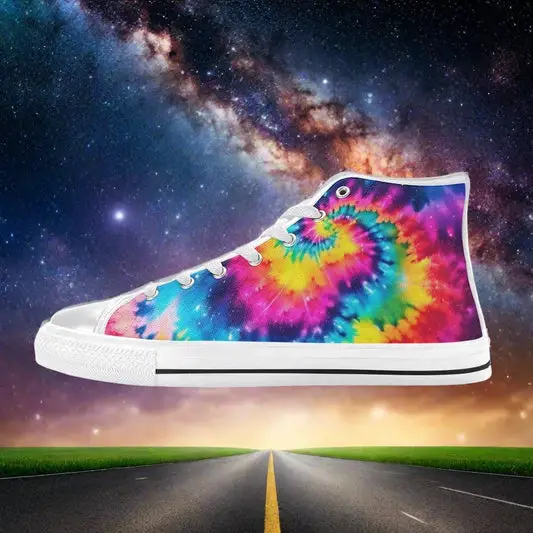
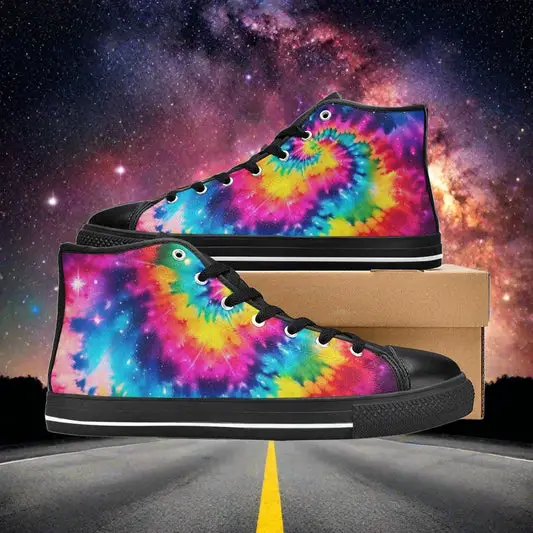
- Tie Dye: Pick up the vibrant and mind-blowing designs with our Tie Dye custom shoes. These shoes are perfect for those who want to add a splash of color to their daily outfit.
- Freaky Shoes Men: Our signature Freaky Shoes Men's design is a classic choice for those who want to make a bold statement. Stand out from the crowd with these stylish and attention-grabbing shoes.
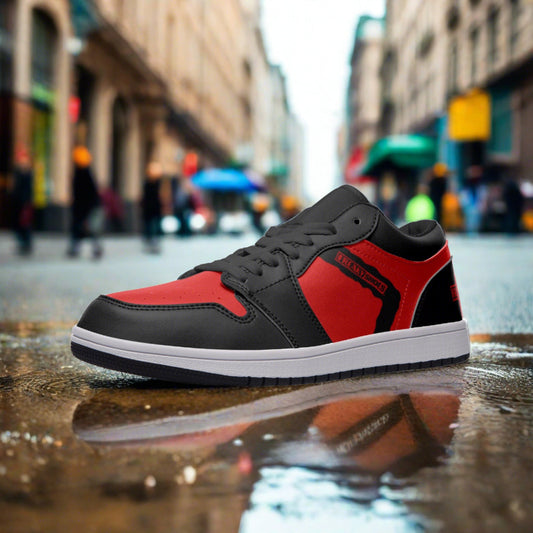
- Freaky Shoes Red White: Showcase your unique style with our Freaky Shoes Red White design. These shoes are a premium blend of elegance and creativity, making them a perfect addition to your wardrobe.
- Black And Grey: If you prefer a more monochrome yet stylish look, our Black And Grey custom shoes are the ideal choice. Versatile and sophisticated, these shoes will complement any outfit you wear.
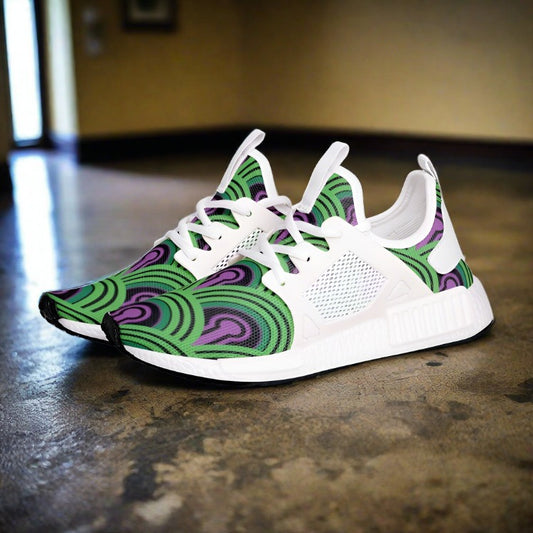
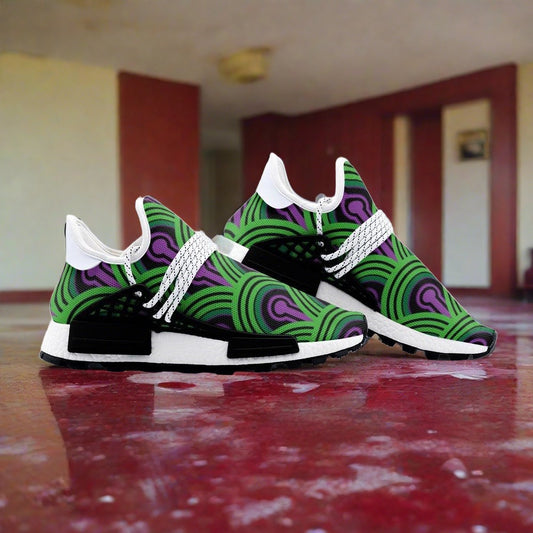
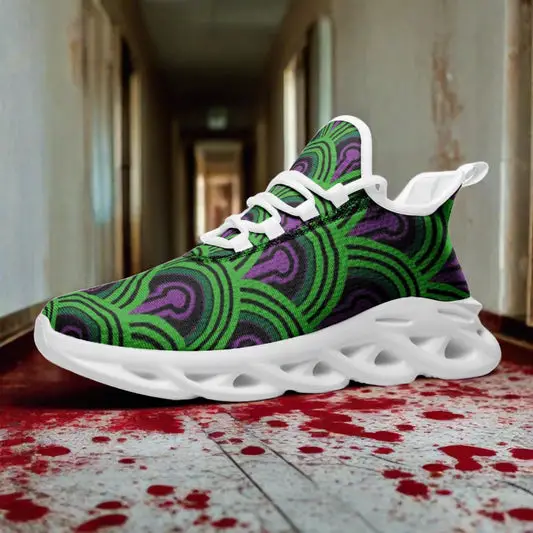
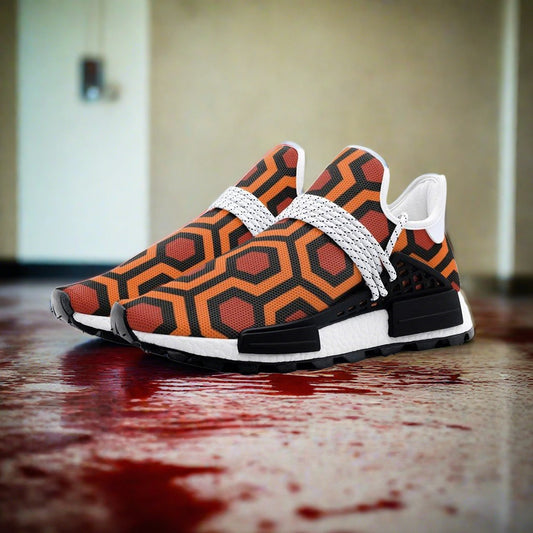
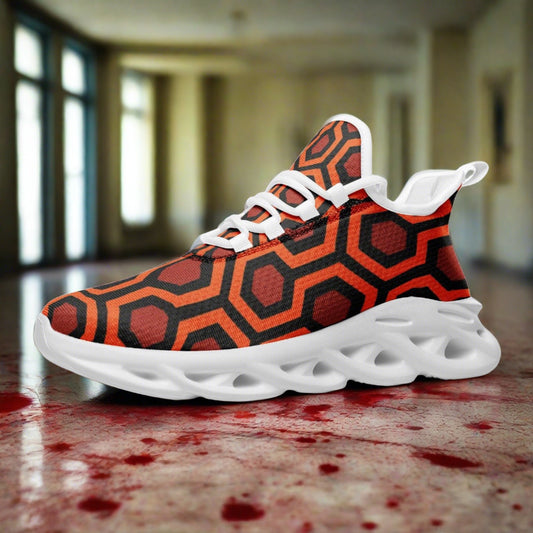
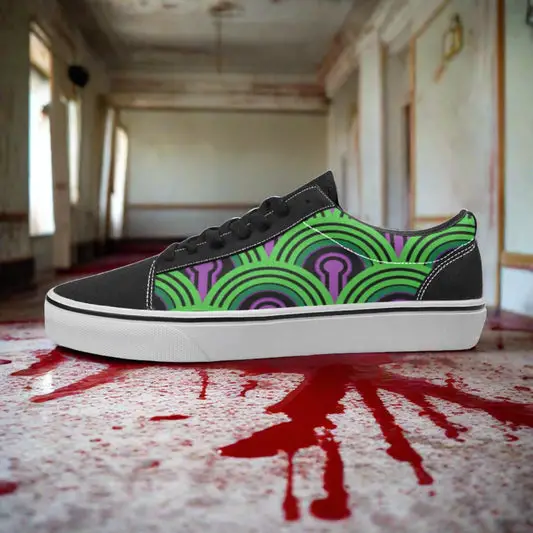
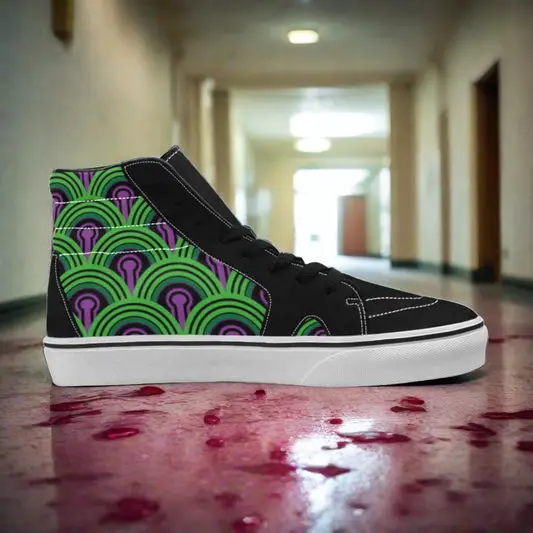
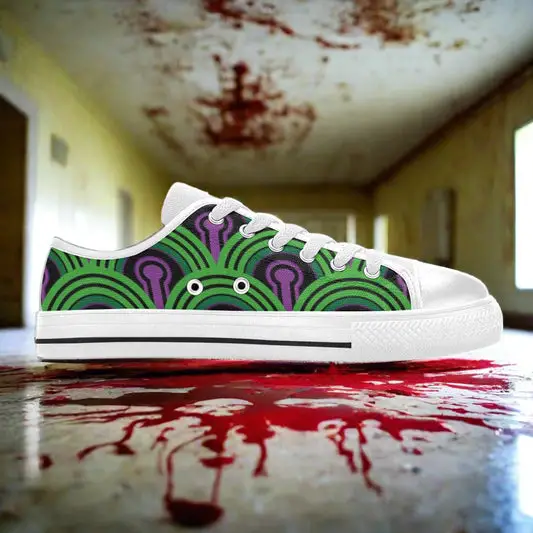
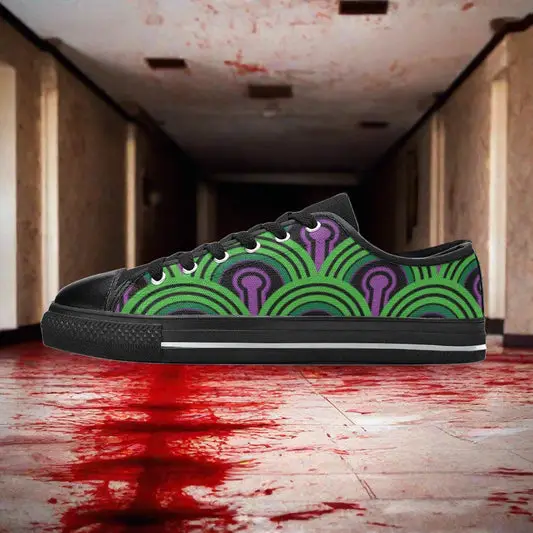
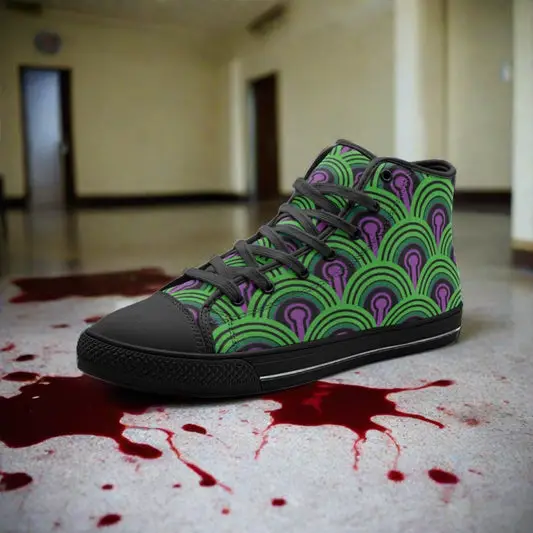
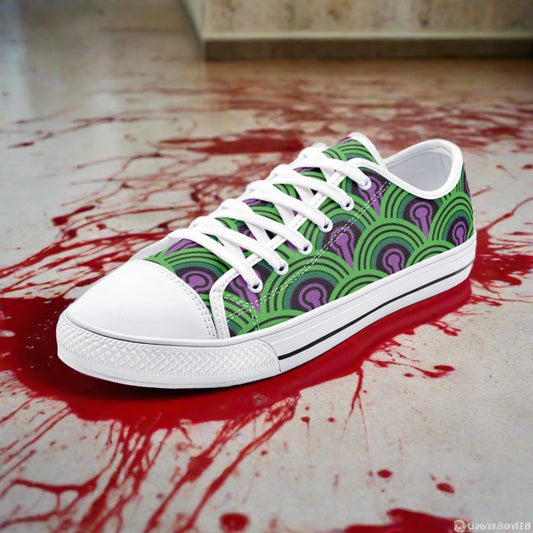
- Carpet Pattern Art: One of the most popular pieces at Freaky Shoes, this pair is a masterpiece of its own. With a unique blend of greens and purples, these shoes will add a fun and stylish look to your outfits.
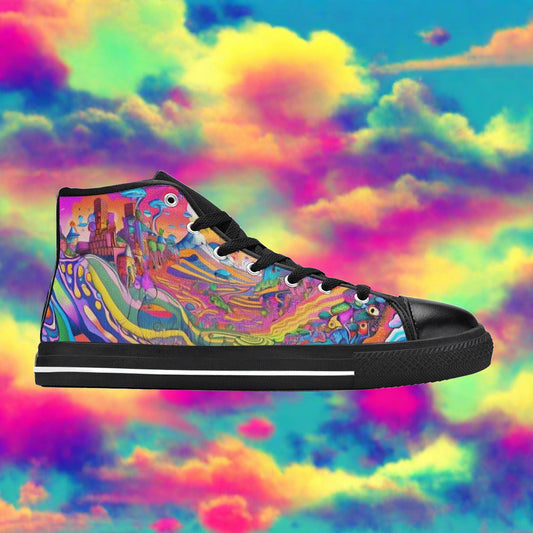
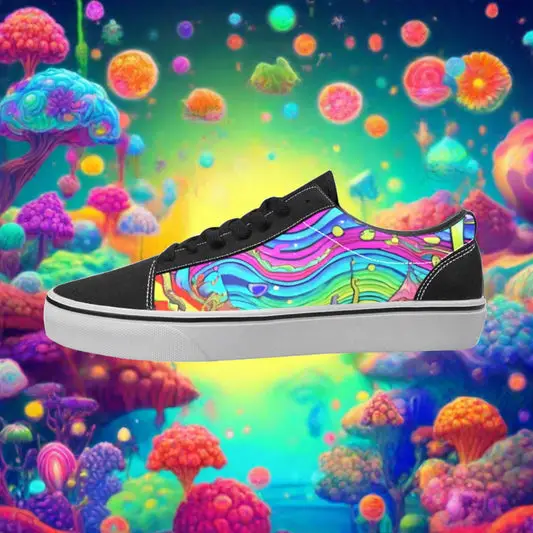
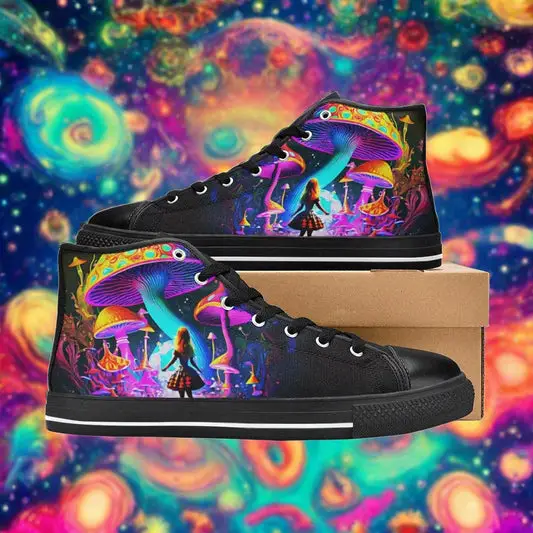
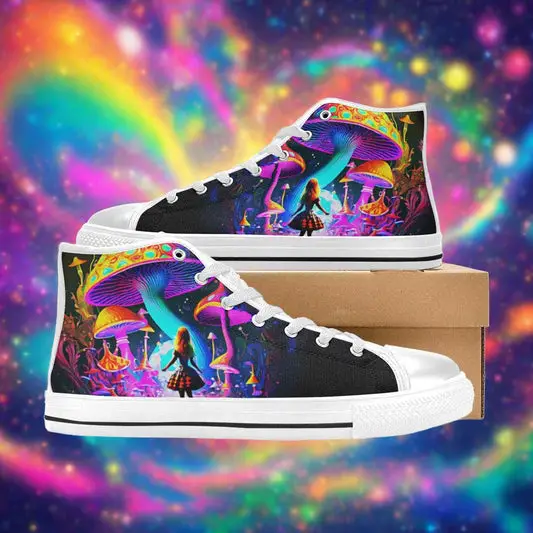
- Trippy Art Men: With a great fusion of different colors, these shoes are perfect for those who appreciate unique and mind-bending designs.
- Grey Skulls & Roses Men: For those who want something different this Halloween, surprise everyone with these skulls and roses sneakers. These shoes are edgy, bold, and perfect for making a statement.
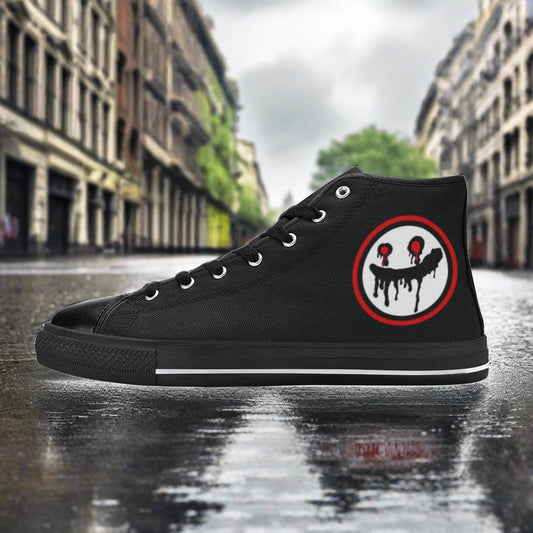
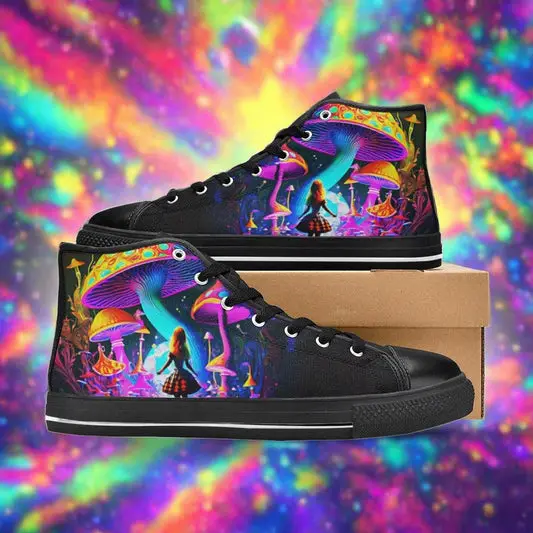
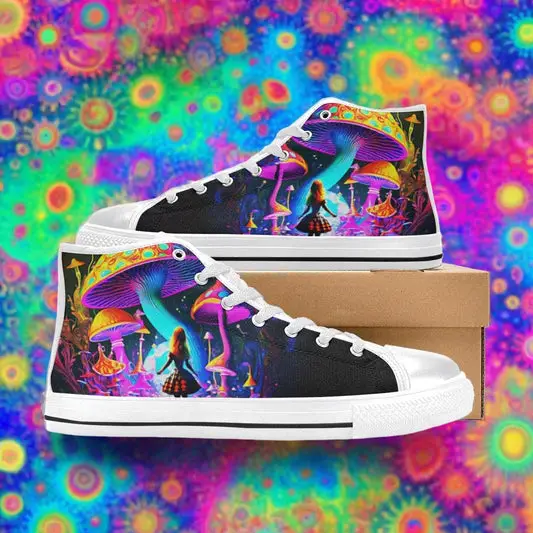
- Dripping Monsters Men: Want something chic but funny? Check out our dripping monster sneakers. These shoes will add a touch of fun to your everyday look.
With so many amazing and fun designs, you’ll surely find something that matches your vibe. We at Freaky Shoes make sure our customers love the style and the quality.
Each pair is crafted with high-quality materials to ensure comfort and durability in the long run. Whether you're going for a walk or running errands, our custom shoes will keep you looking stylish and feeling comfortable.
And if you are looking for some personally customized statement pieces, Freaky Shoes also has lots of customization tools to help you create the perfect footwear that reflects your style!